Good morning everyone!
I hope you all had a good weekend.
(Sorry this post is up a little later than I anticipated)
Today's D.I.Y. will be about shorts!
There are a couple different ways to do shorts and I will do another tutorial on how to so those
Shorts are pretty simple to make once you know what you're doing.
Please, please, please - read this entire tutorial before starting!
So lets get started!
Items you will need will be:
- Fabric - I chose a knit material because you dont have to worry about it fraying
- A pair of shorts/boxers that fit comfortably
- Scissors or a Rotary cutter
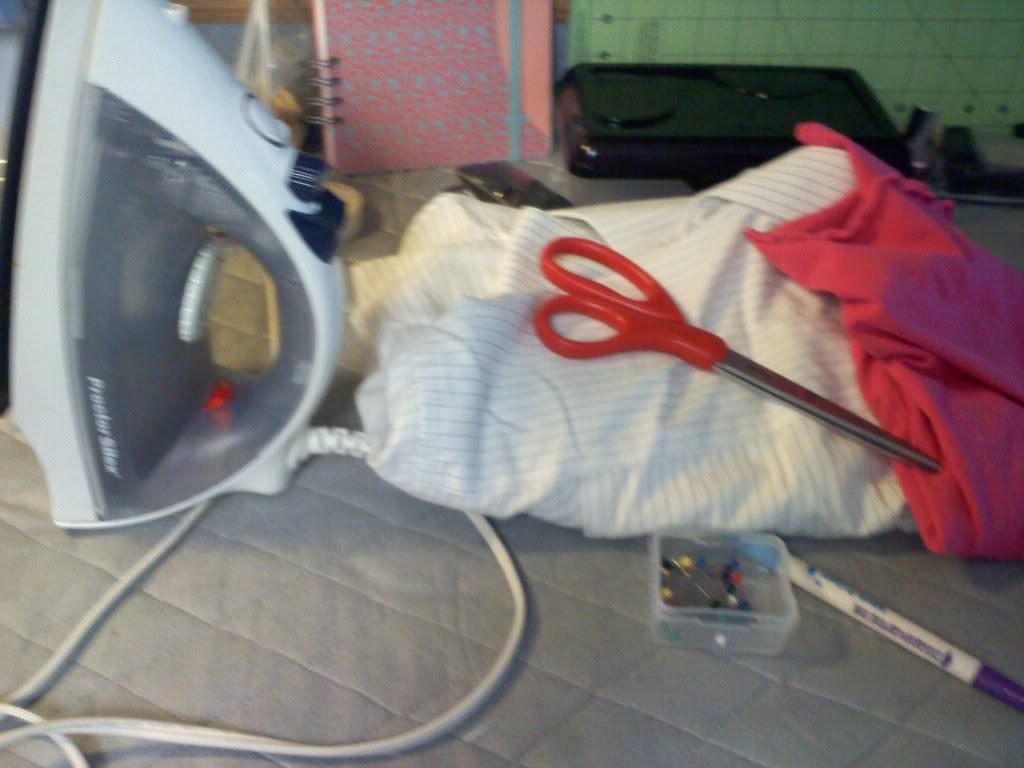
- Iron - if the shorts you're making your pattern from are wrinkly
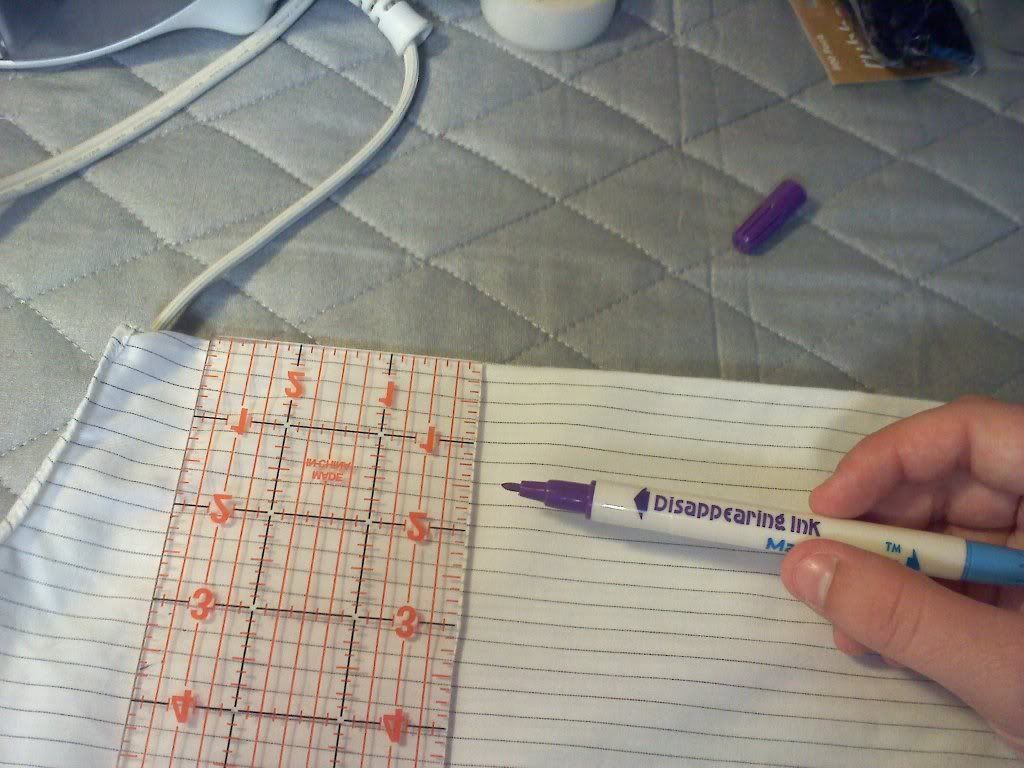
- Fabric pen/chalk
- Newspaper - or another type of paper if you would like to keep the pattern for future use
- Pencil - if you're drawing on paper
- Elastic
- Ans a Sewing machine
- Safety pin
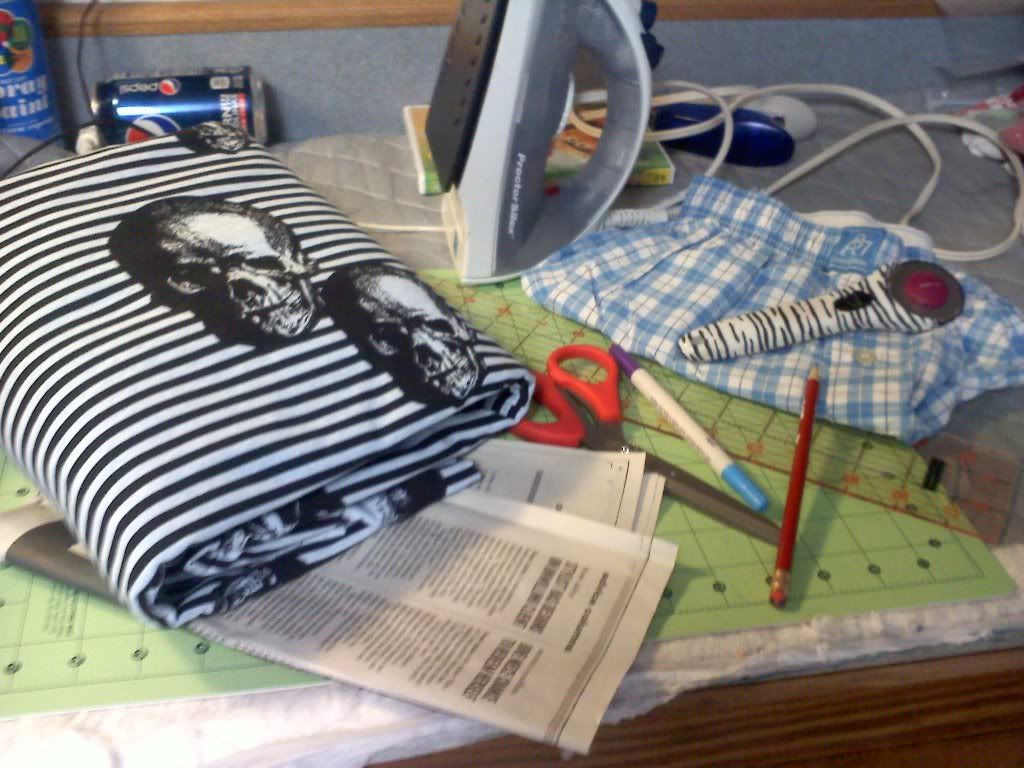
- Lets get started!
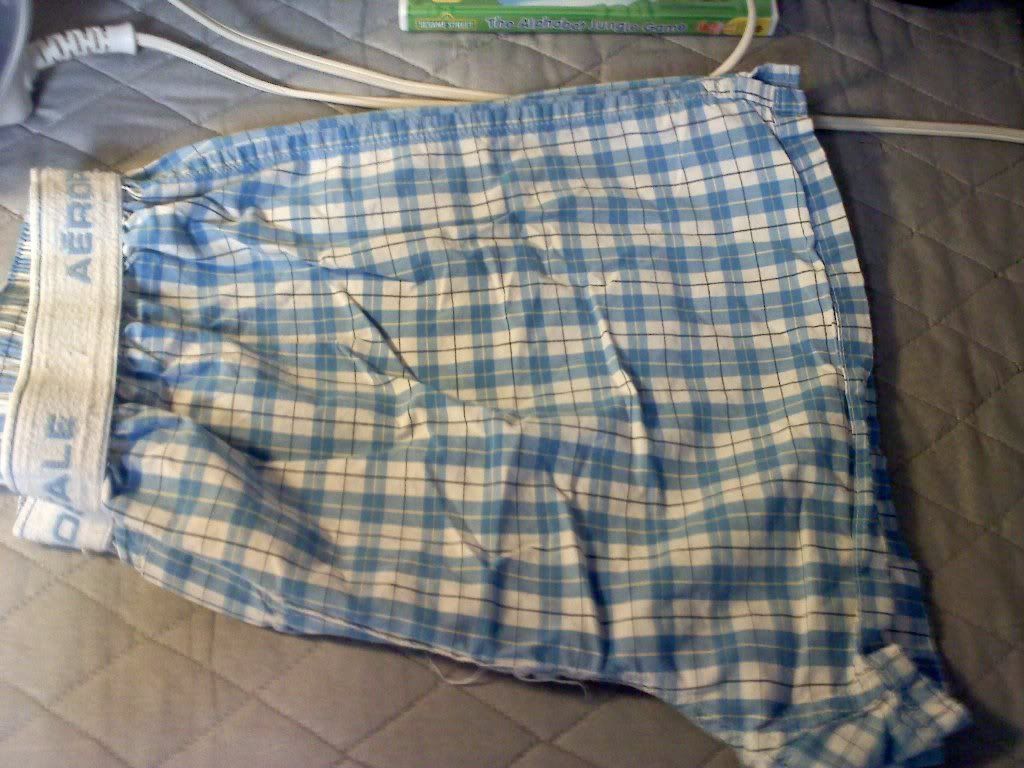
- Take your shorts and turn them inside out and fold them in half.
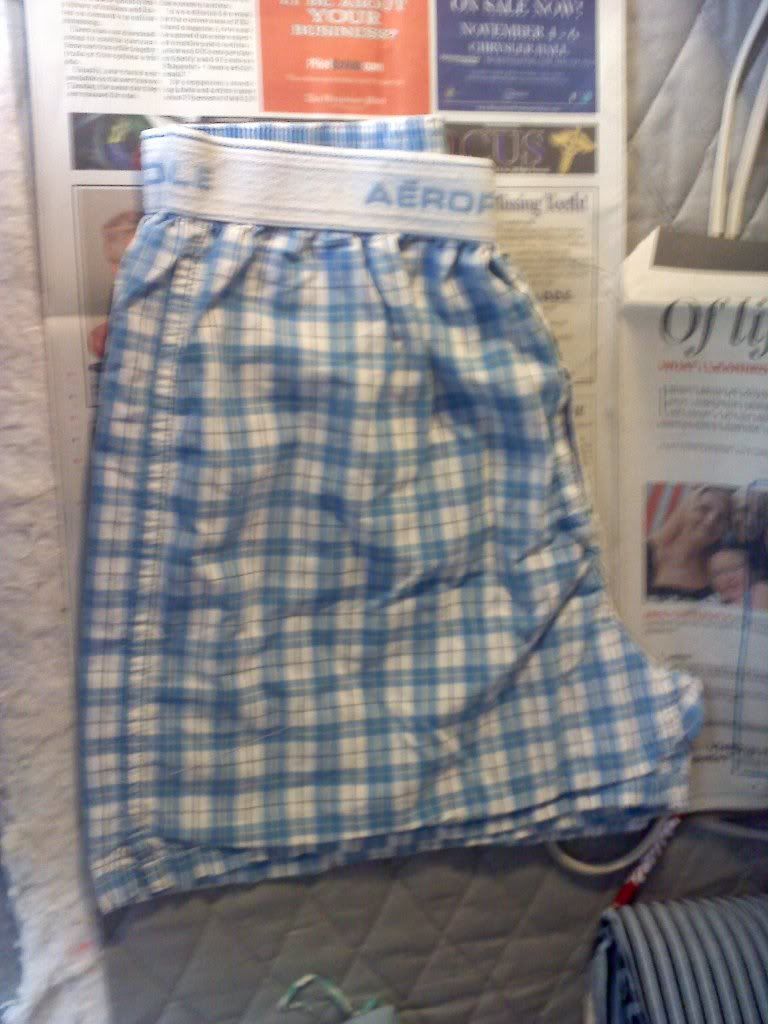
- Take your shorts and put them on the newspaper or if you're not using a newspaper put it on the fold of the fabric.
-Take your pencil and trace the outline of the shorts
-And cut the pattern out
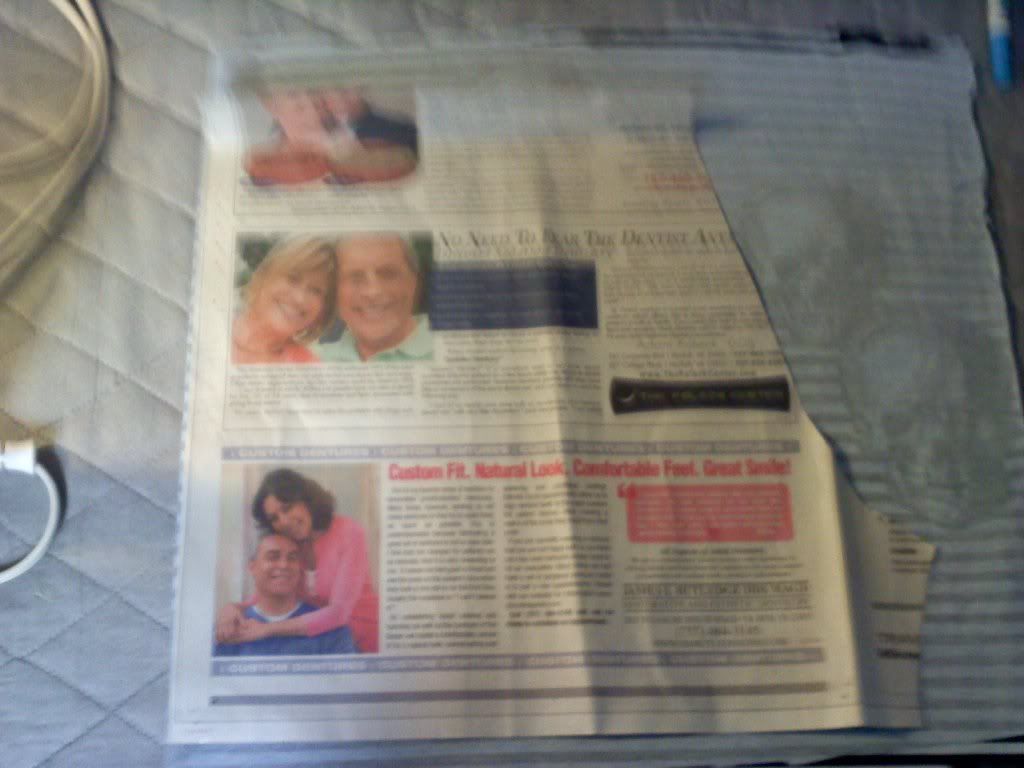
(Sorry the pic is blurry)
- Lay the pattern on the fold of the fabric
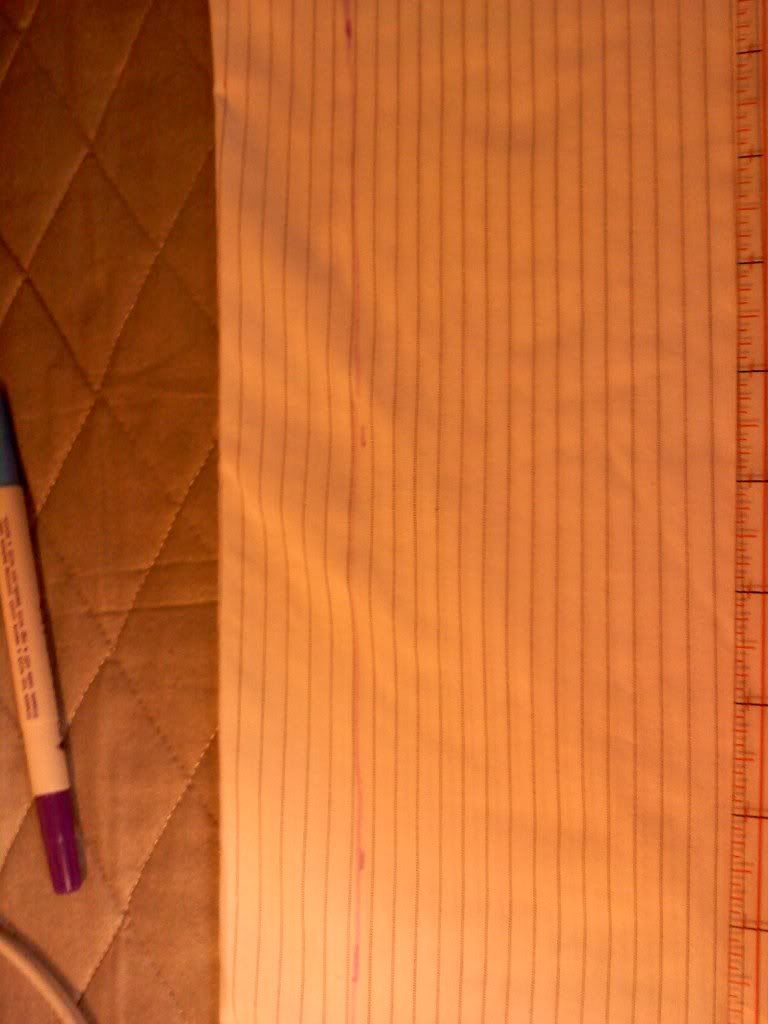
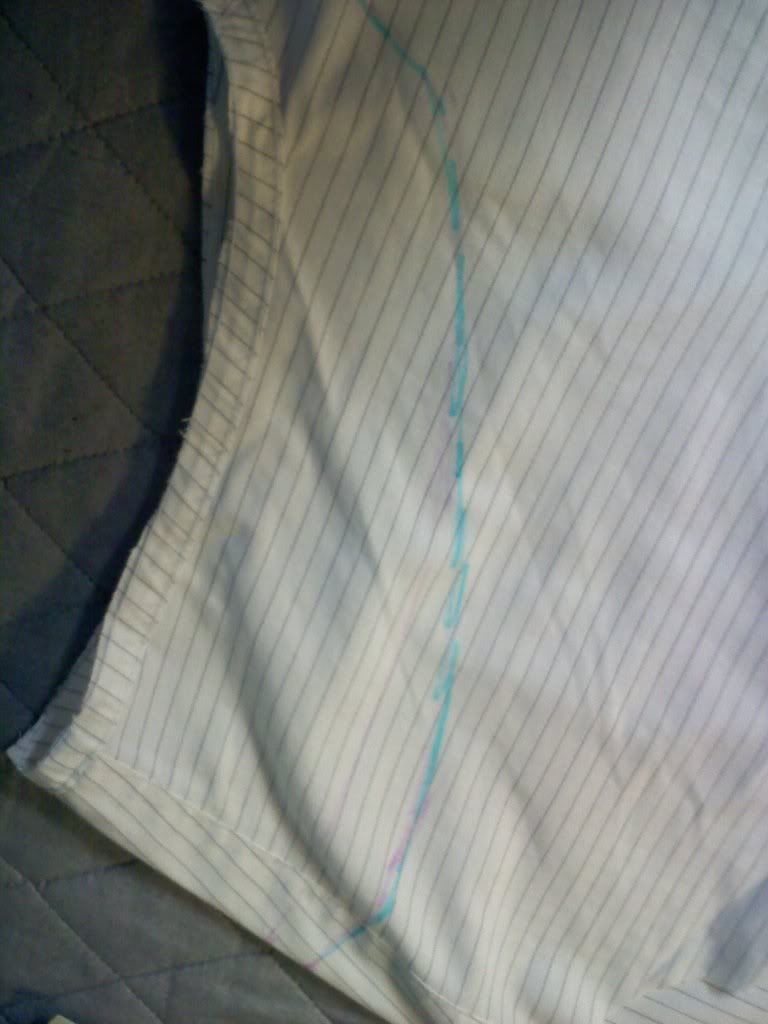
- Now you will take your fabric marking tool, and trace the pattern.*
*Note - you don't have to do this but I can't cut a sraight line to save my life...
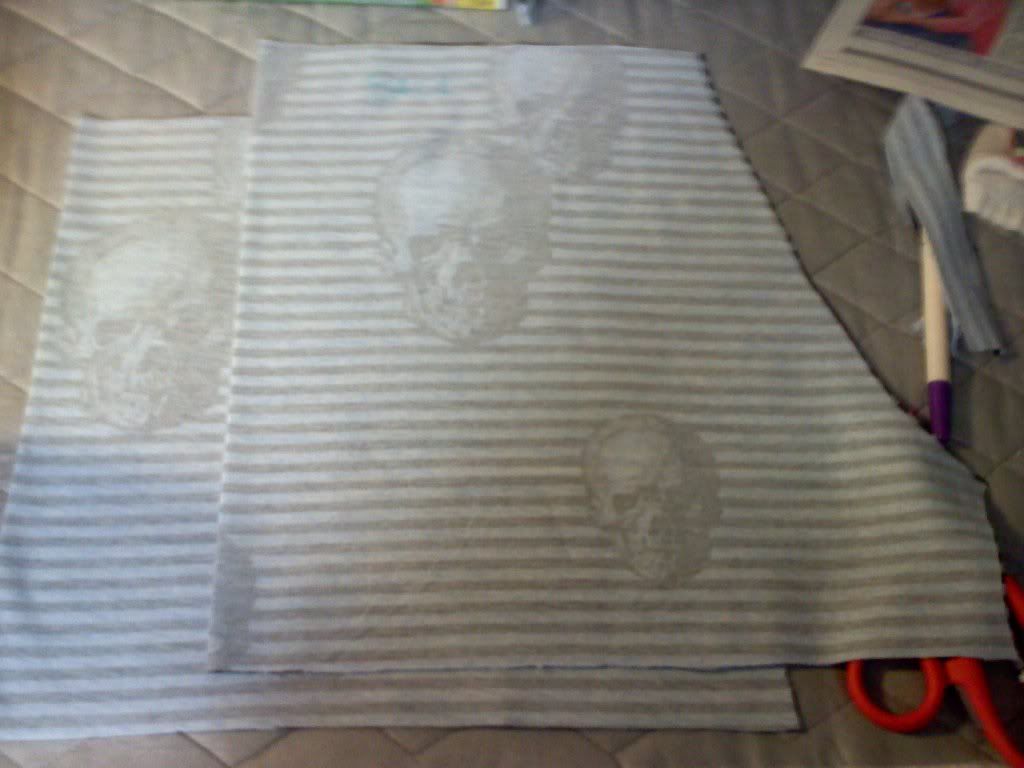
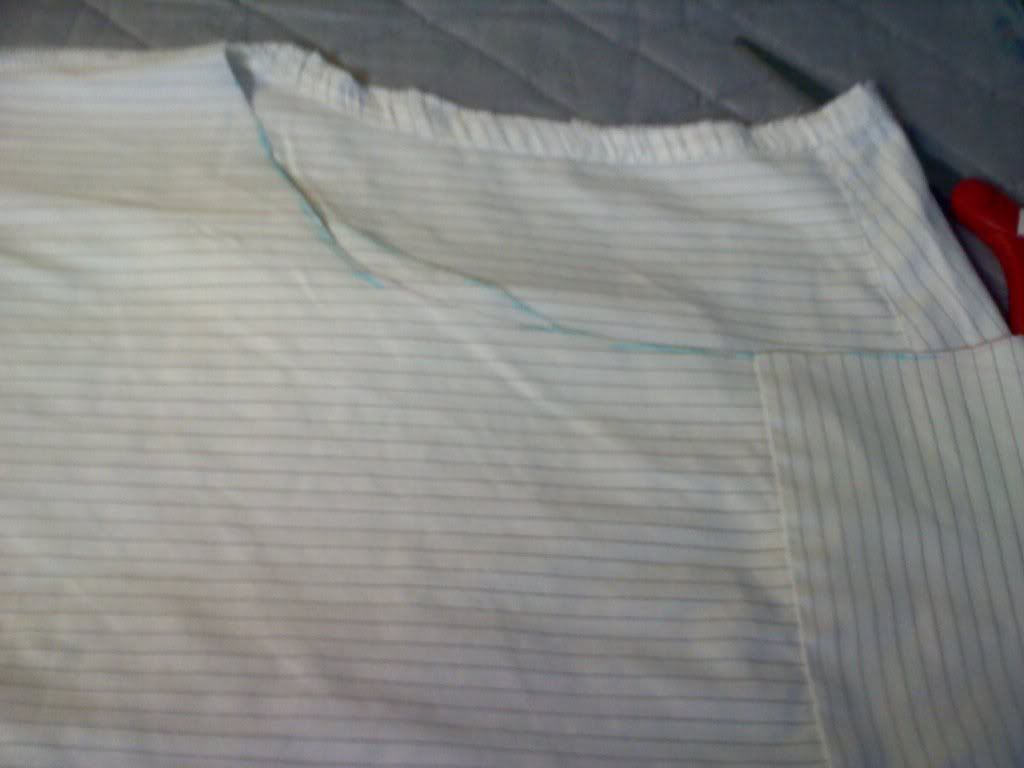
- This is what you should have after you cut it out
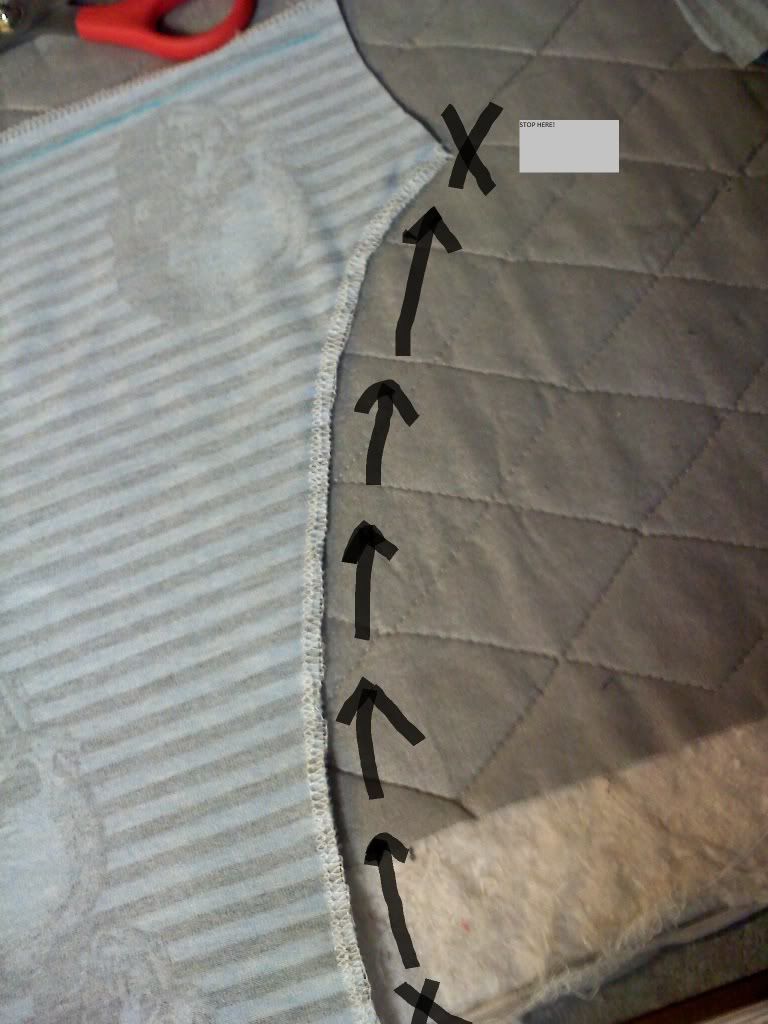
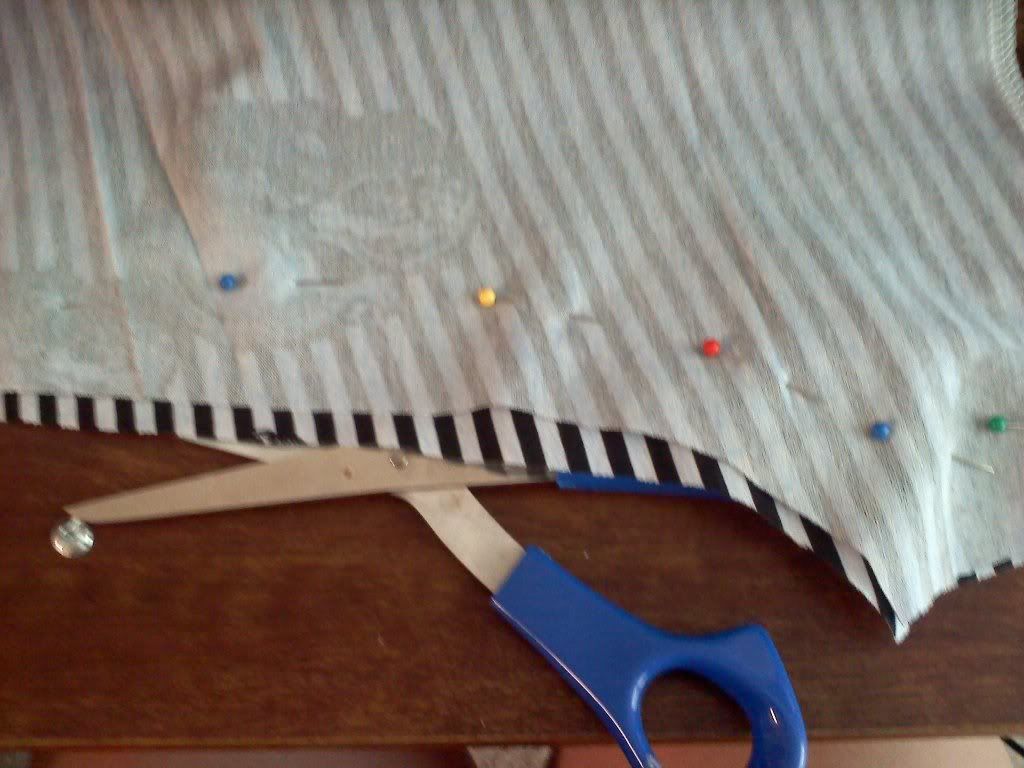
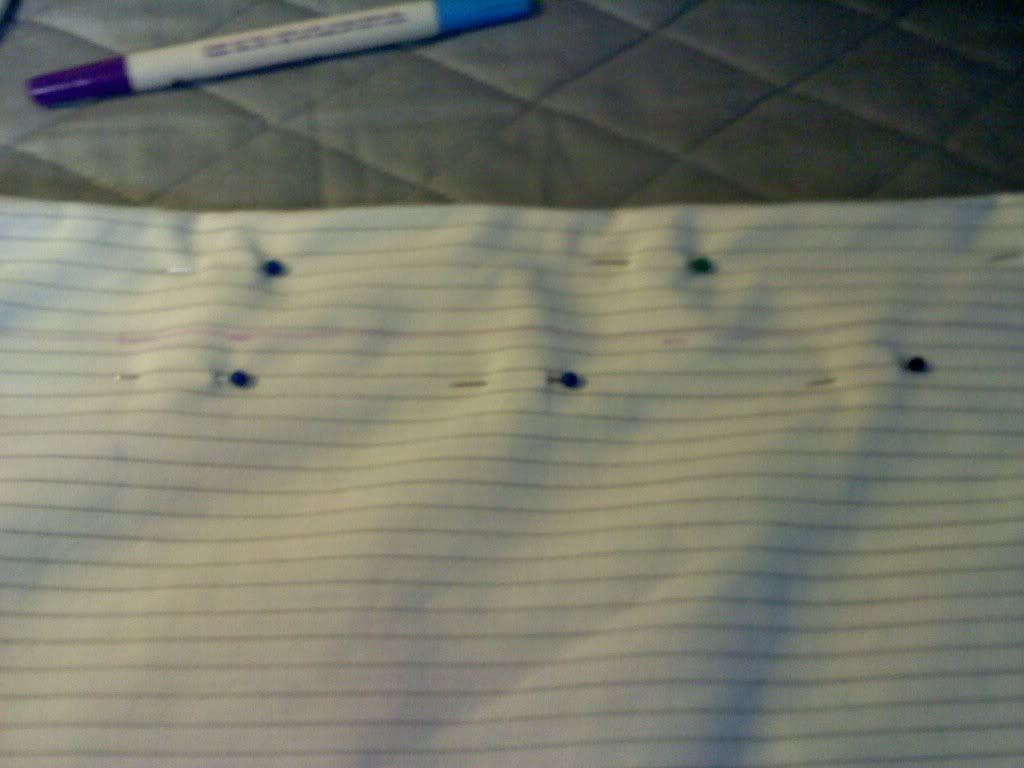
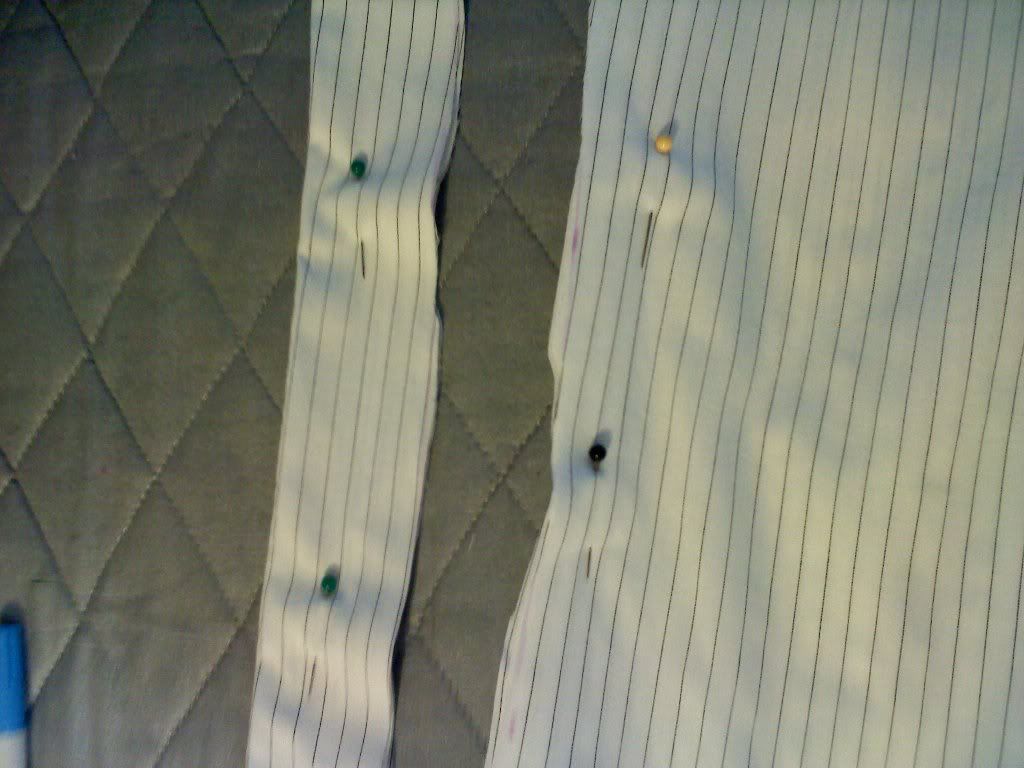
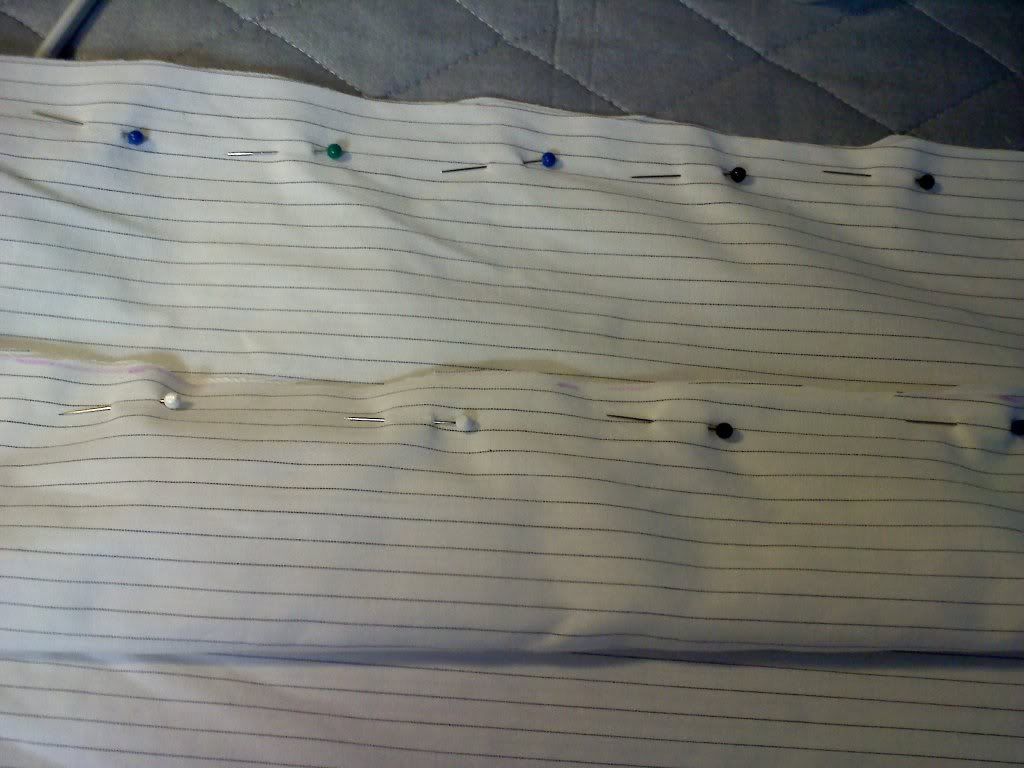
- Now take the two pieces you have and lay them on top of each other and pin.
- You're going to sew the sides together
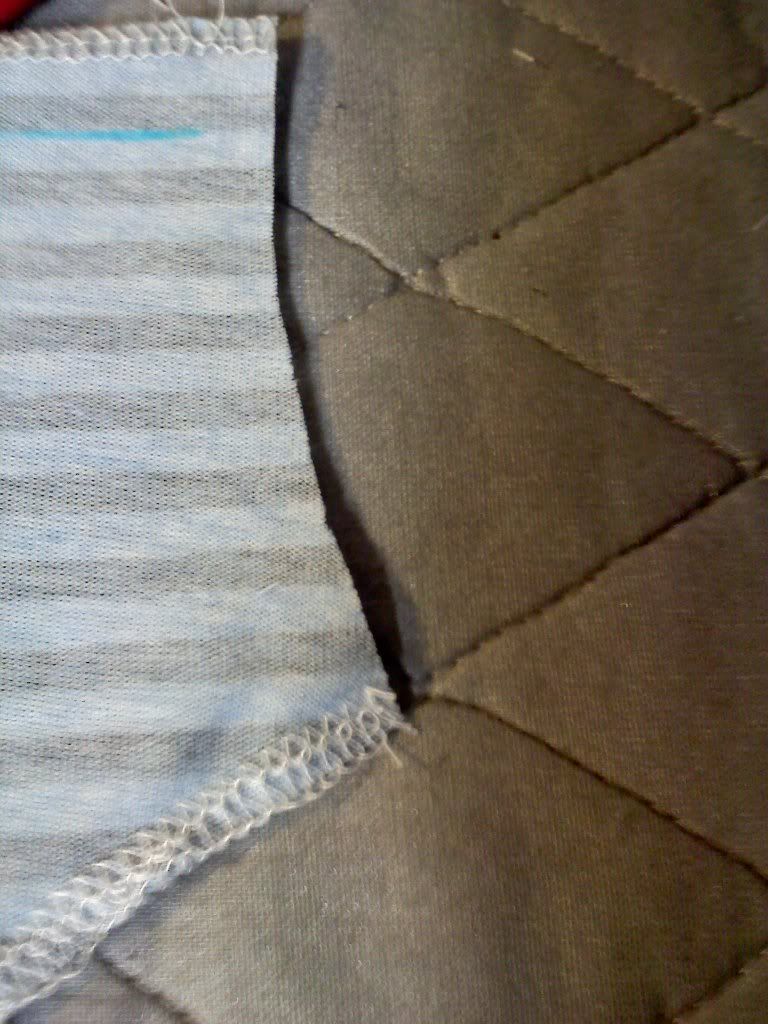
- Now time to sew this part
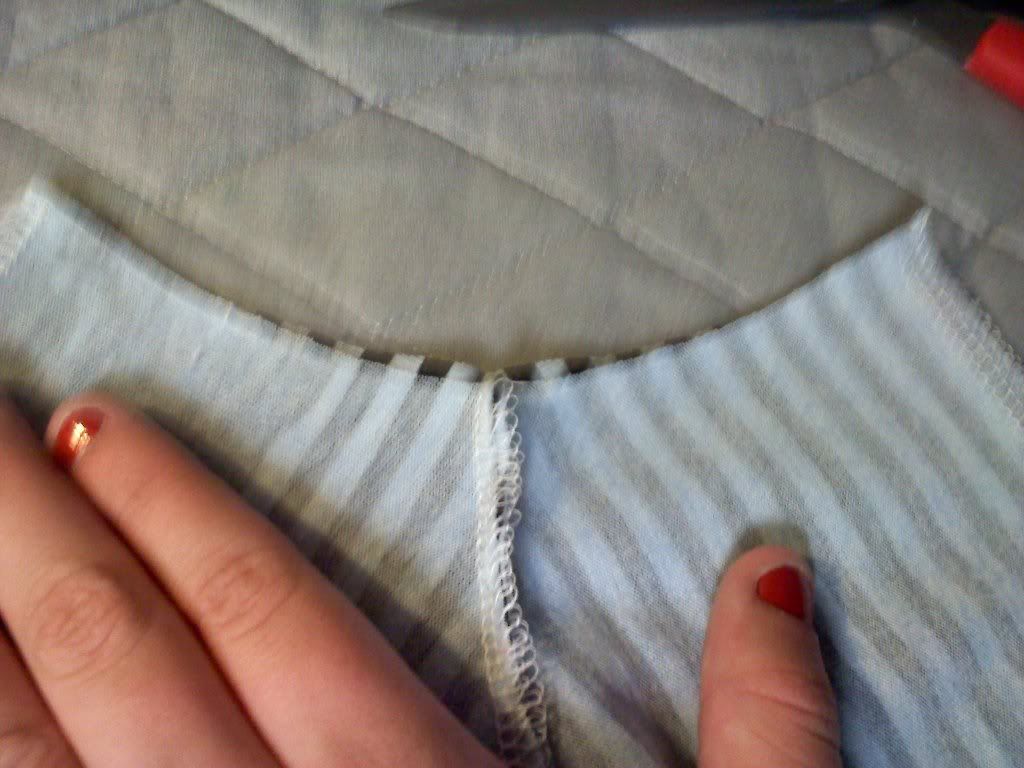
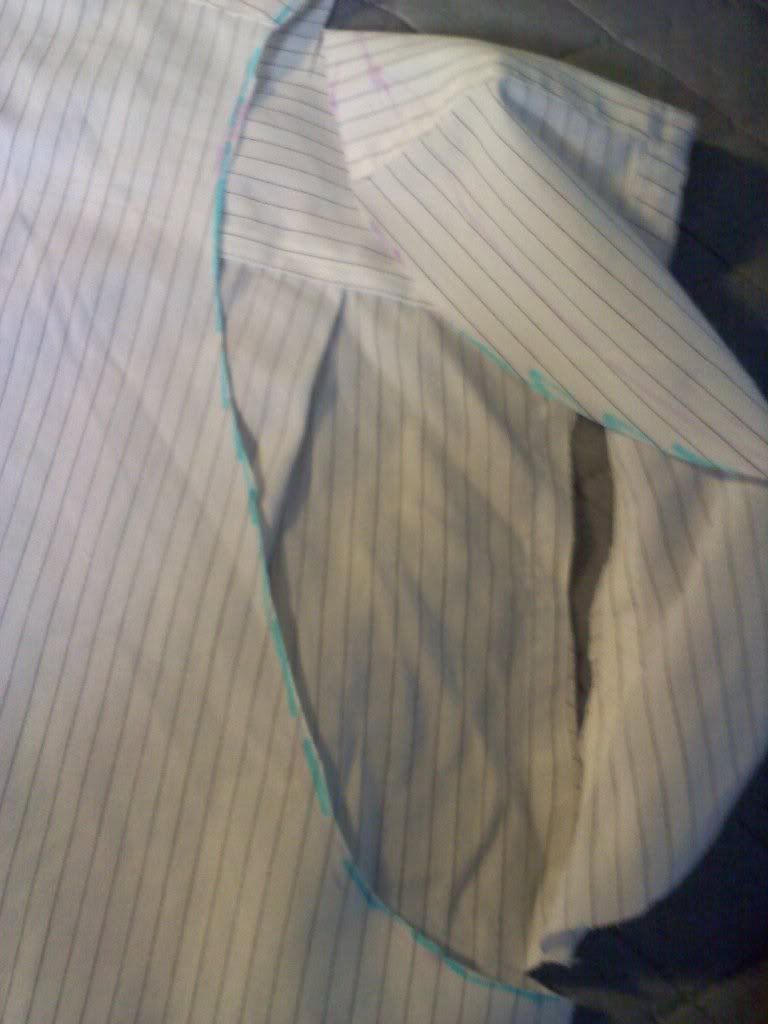
- Open the shorts up and lay the middle flat.
- Pin
- And sew it up
-NOW-
For the waist band
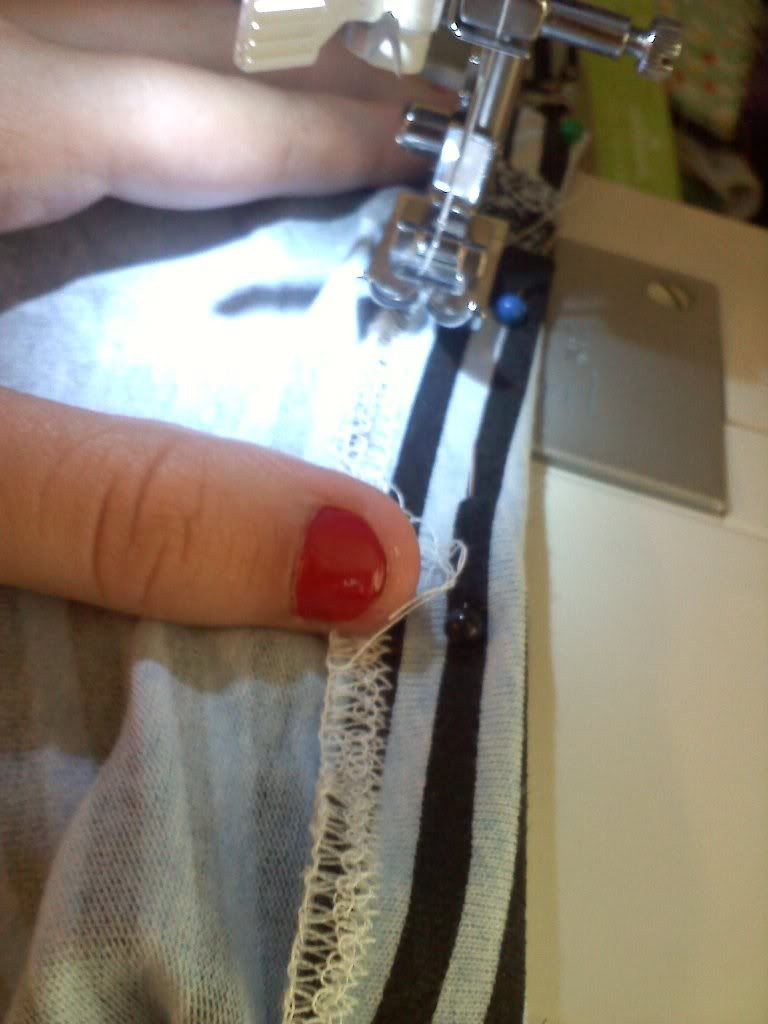
- Fold over and pin
- Sew around, Leave a hole about an inch or more - depending on the size of your elastic
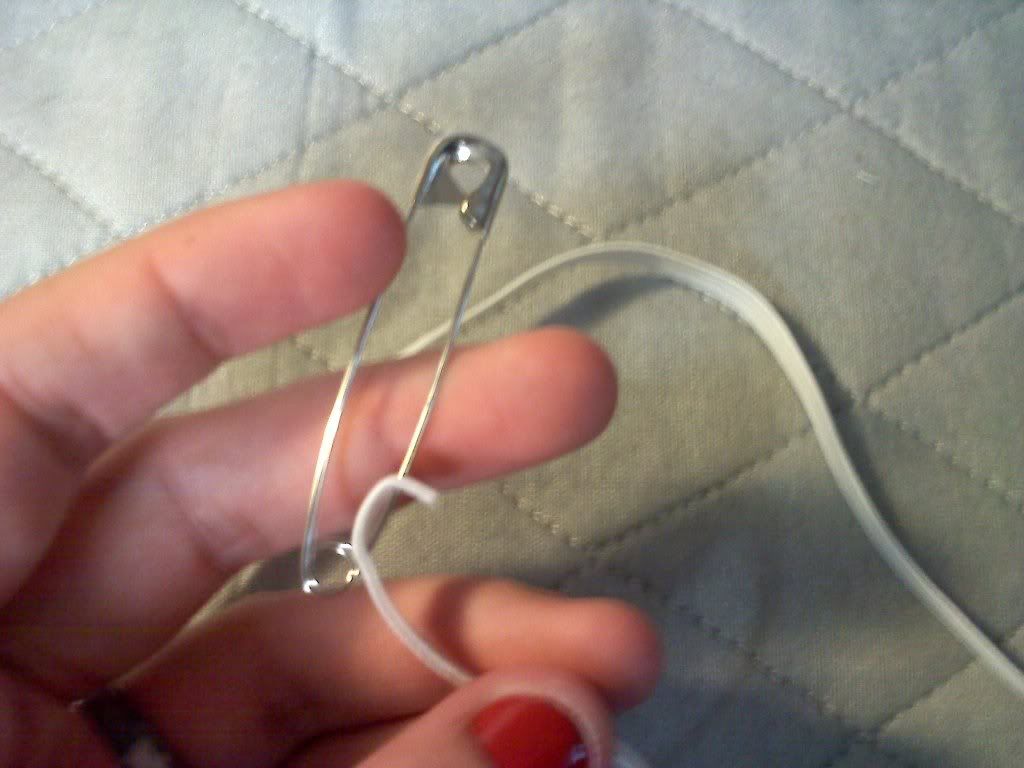
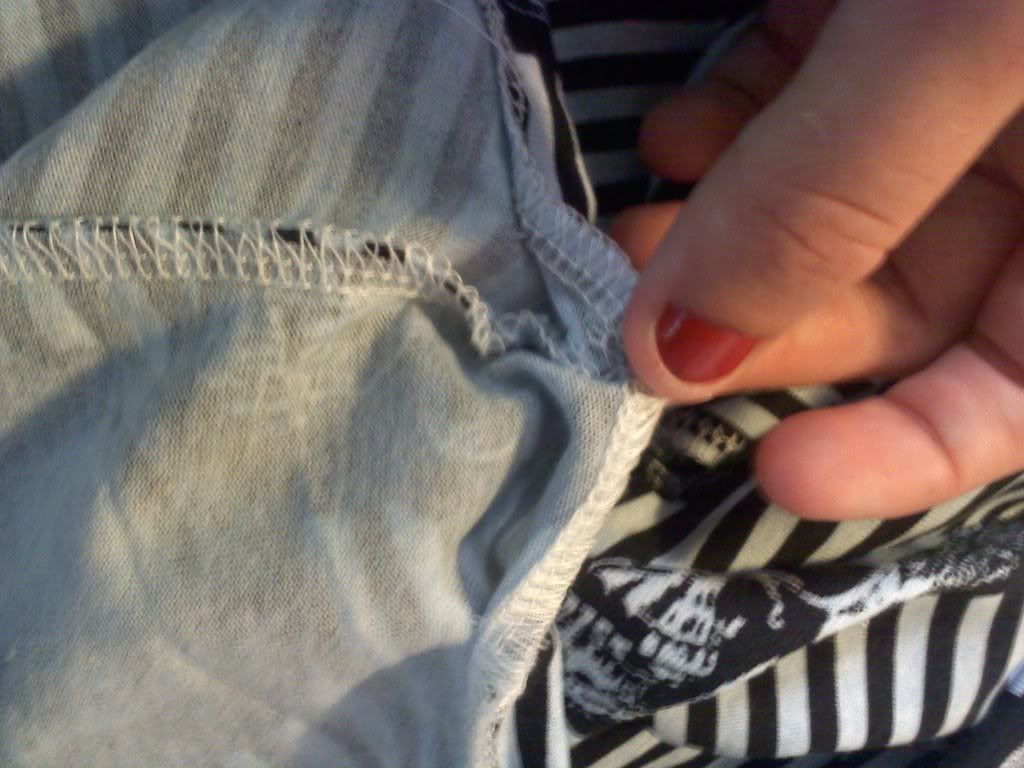
- Take you're elastic and safety pin and thread it though the hole
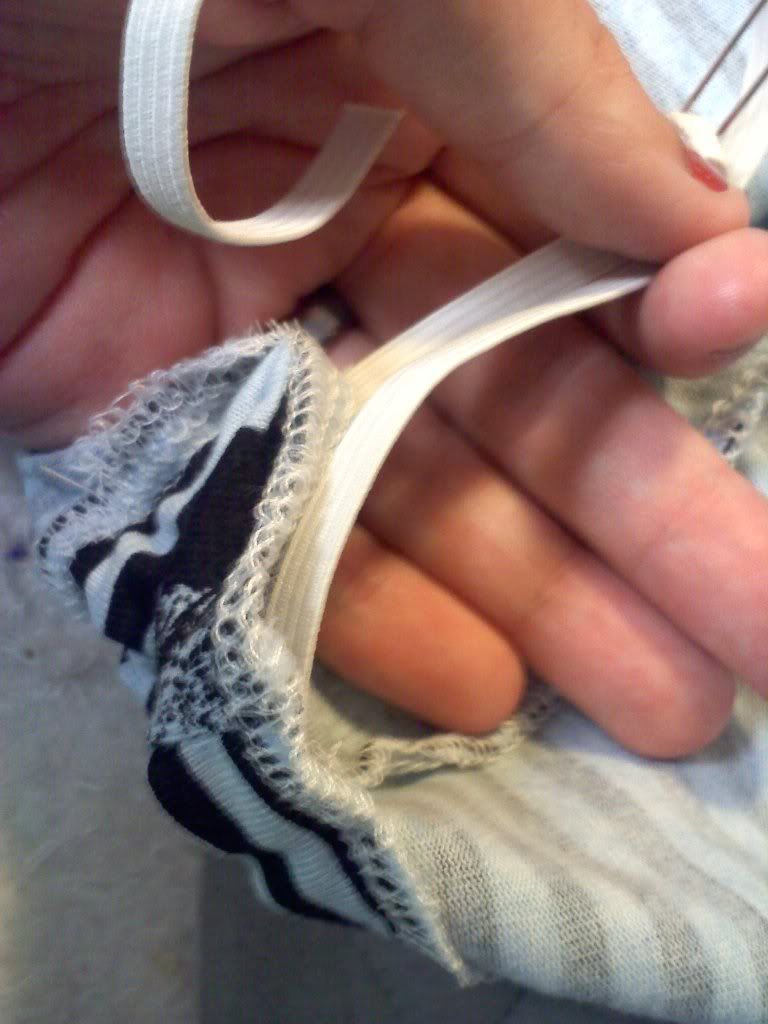
- Once you pull the end out from the other side of the hole,
sew the two ends of the elastic together
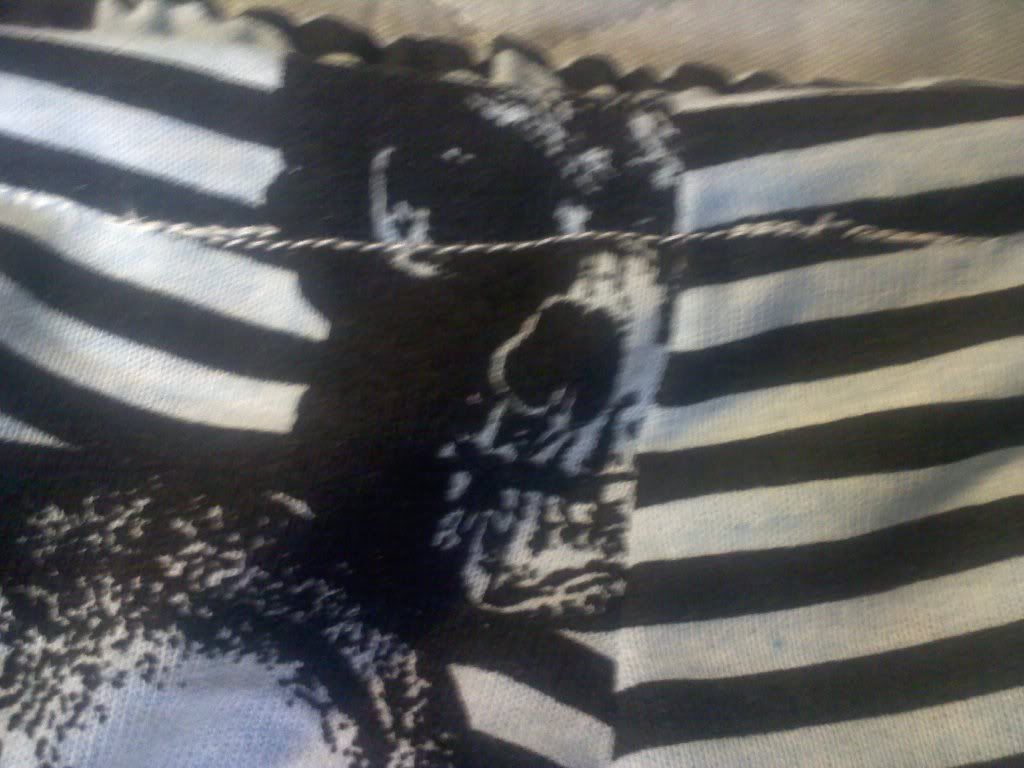
- Give the shorts a few tugs to get the elastic through the hole
- Now sew the hole together
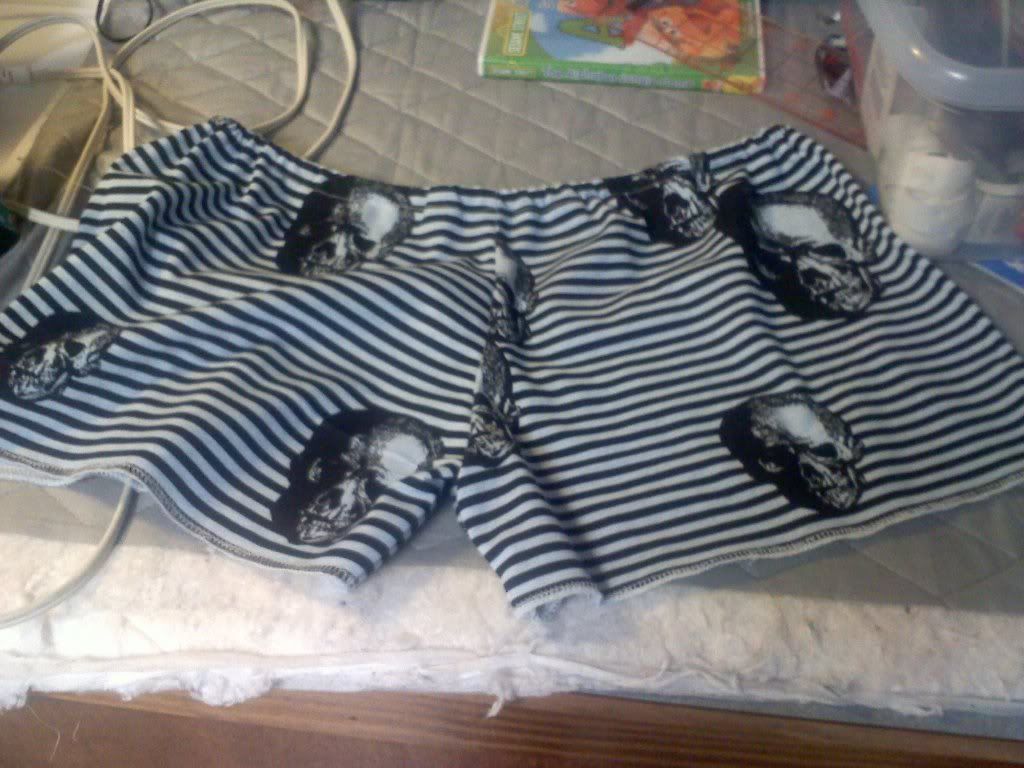
-Ta-da!
You're finished
Hope this helps you make some amazing shorts for you or your little one!
If you have any questions or comments please feel free to leave them
Happy Monday everyone!!