

Okay, so over the weekend I was pondering what I wanted to do. I came across an old button up of my husbands that he NEVER wears, and I decided I would "fix" it up. So I did.
BTW this tutorial is VERY photo heavy, I personally learn best when I see how to do, I may have gone a little over-board :) sorry!
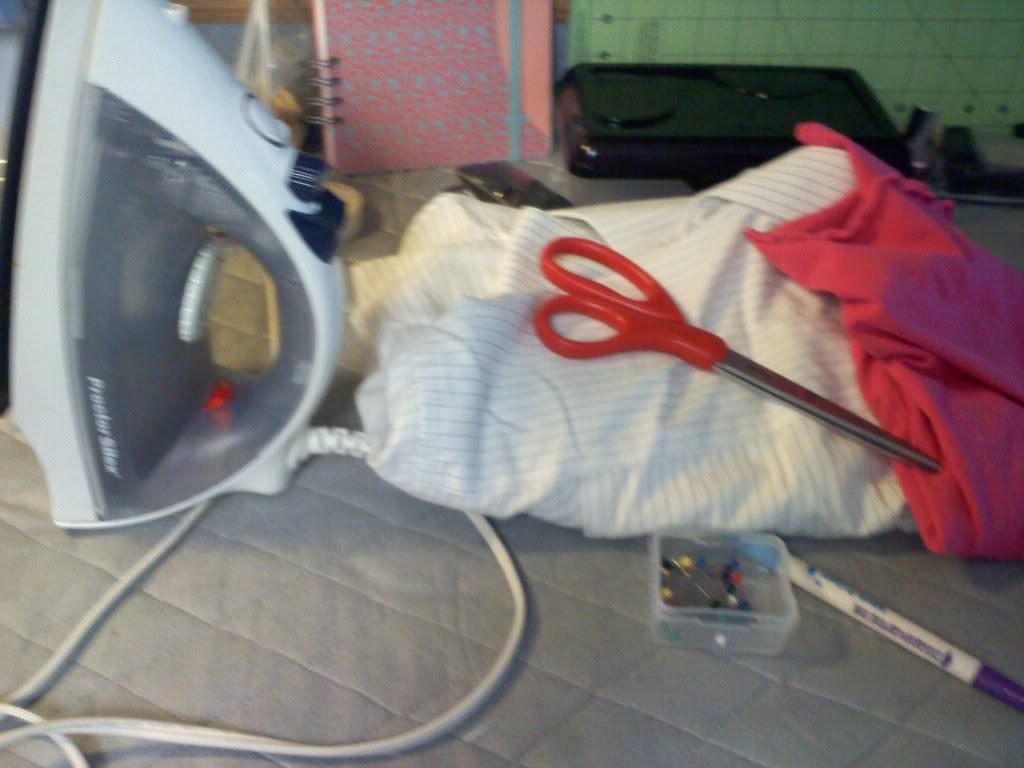
The items you will need for this project will be:
-Over sized button up shirt
-Scissors
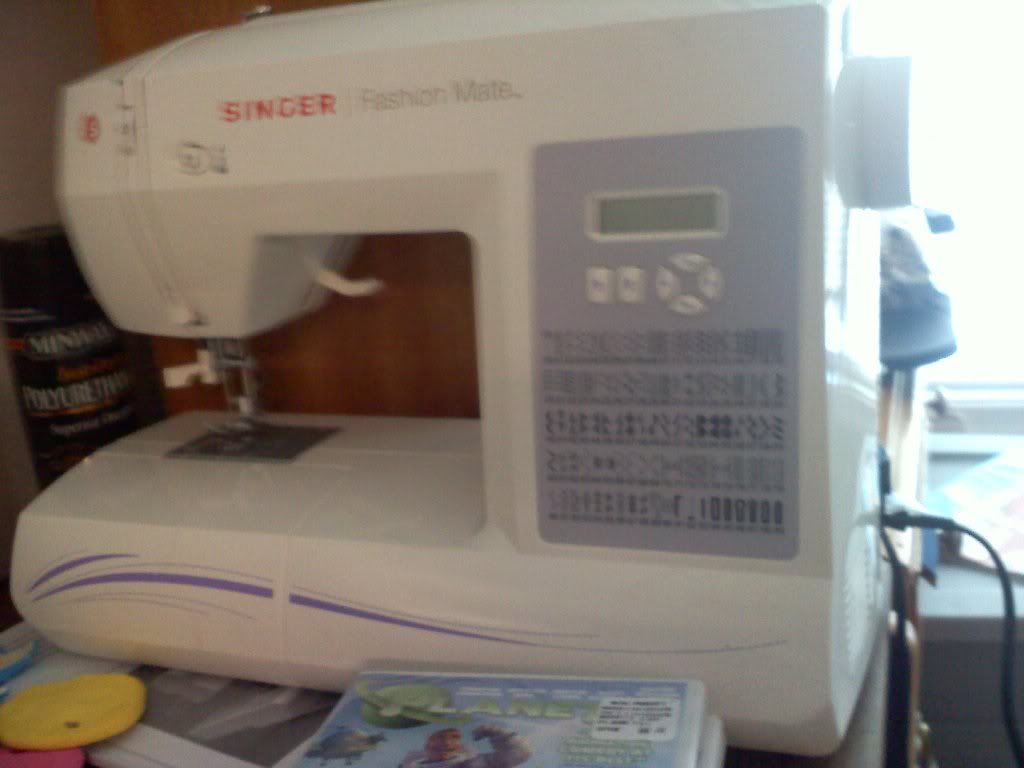
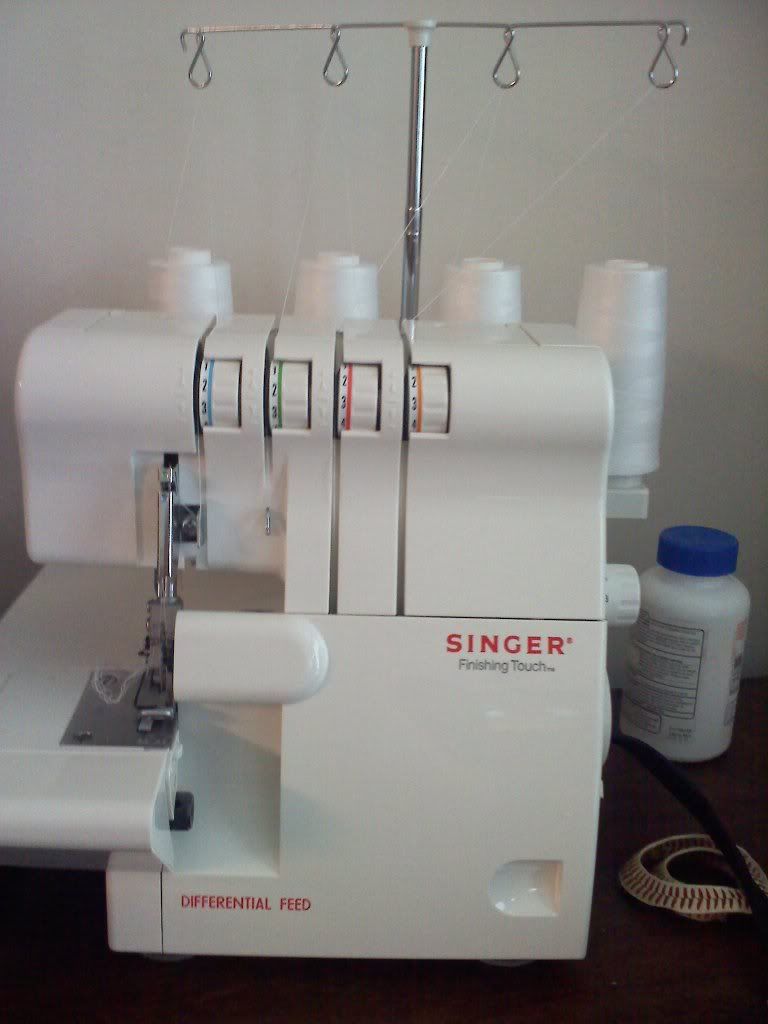
-Sewing machine/Serger (if you have one, if not you can do it with out)
-Pins
-Iron
-A tank top or other shirt to use as a size reference (if you want)
-Pen or other marking tool (fabric pen, pencil, chalk, etc)
Okay, so lets get started!

Cut collar off
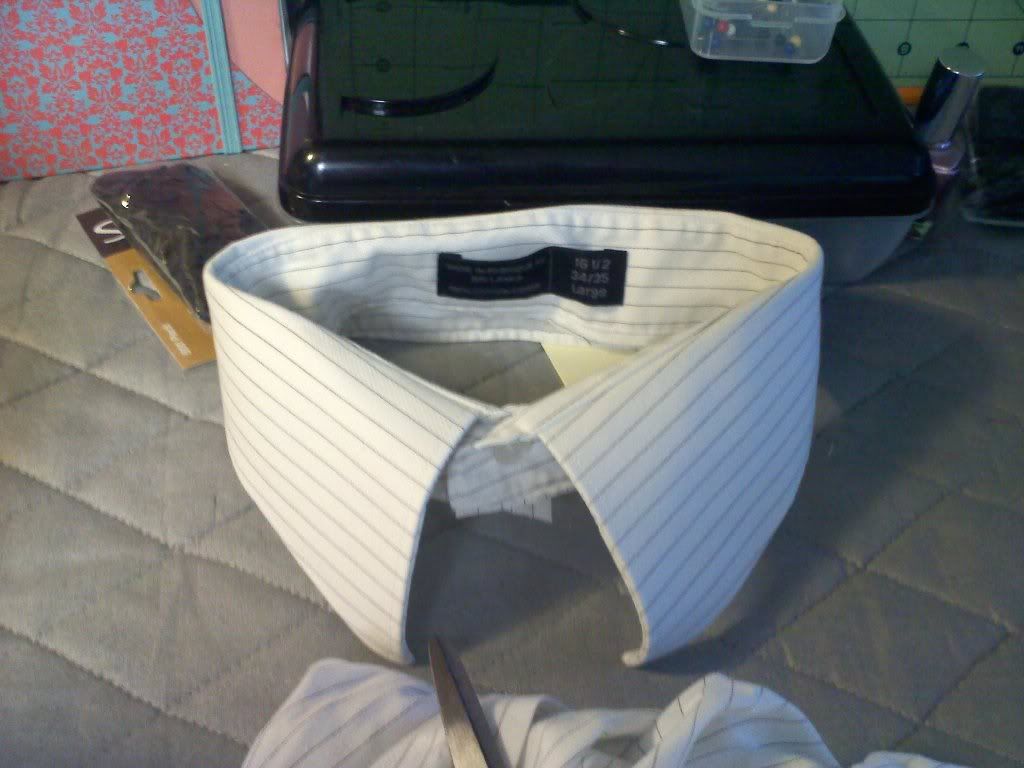
Ta-da!
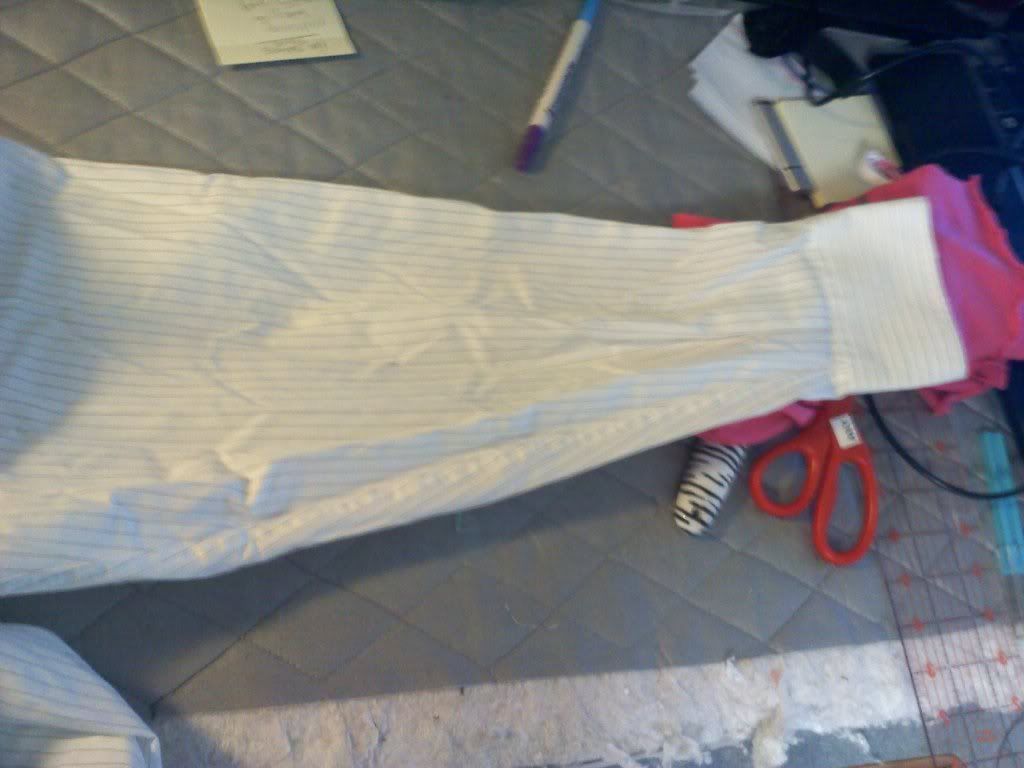
Take the sleeves and hack those off too.
Now we begin with the fun stuff!
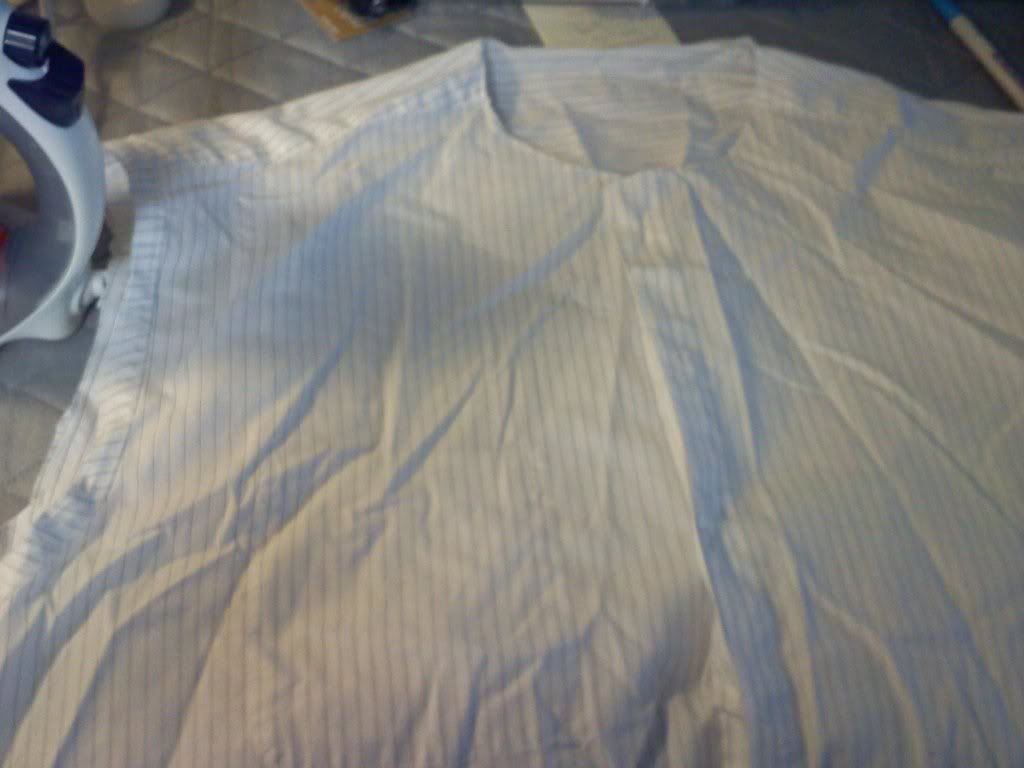
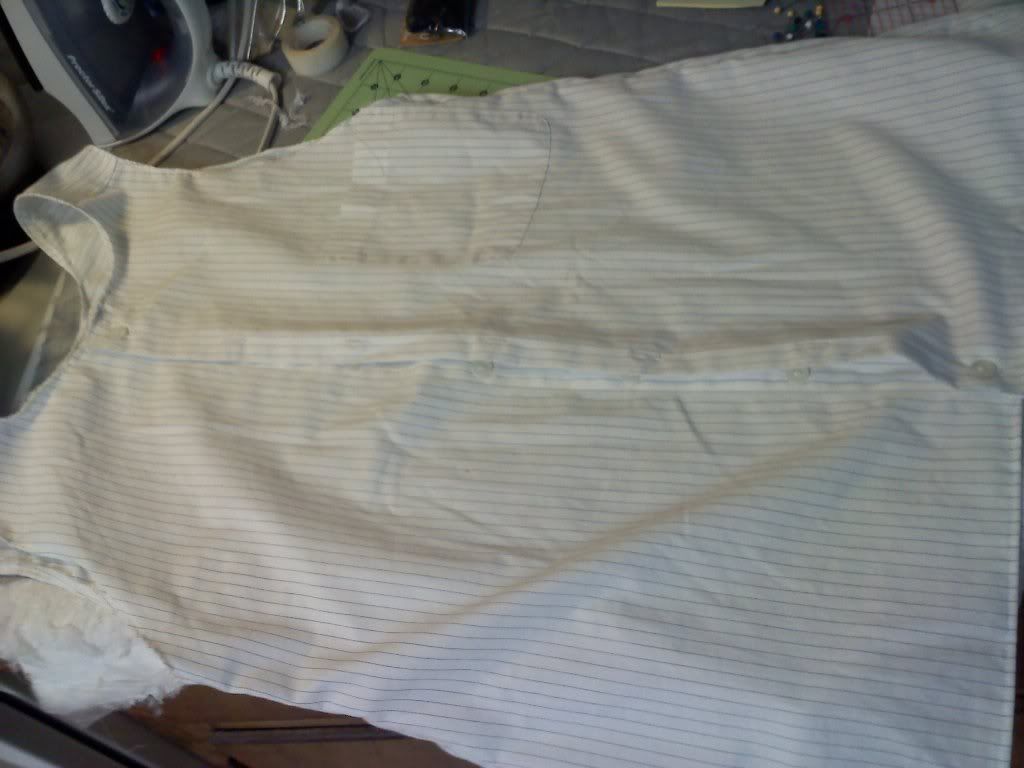
Go ahead and if your shirt looks like this (wrinkles and all), iron it.
Haha! Yeah right
Now button the shirt, turn it inside out, and slip it on.
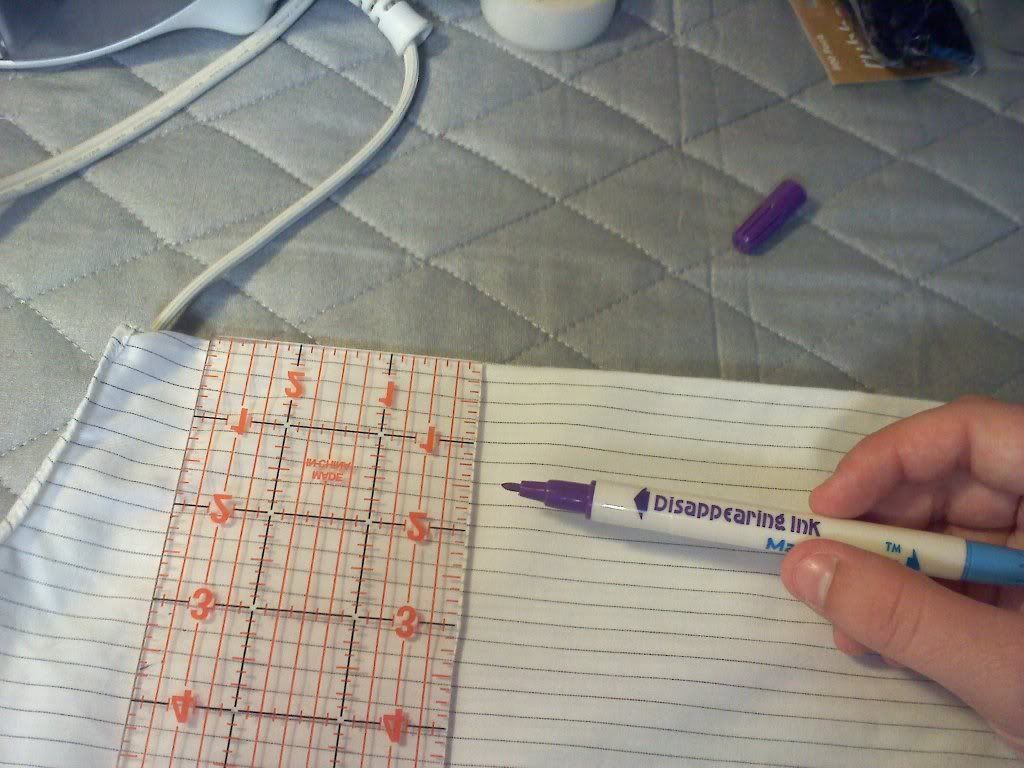
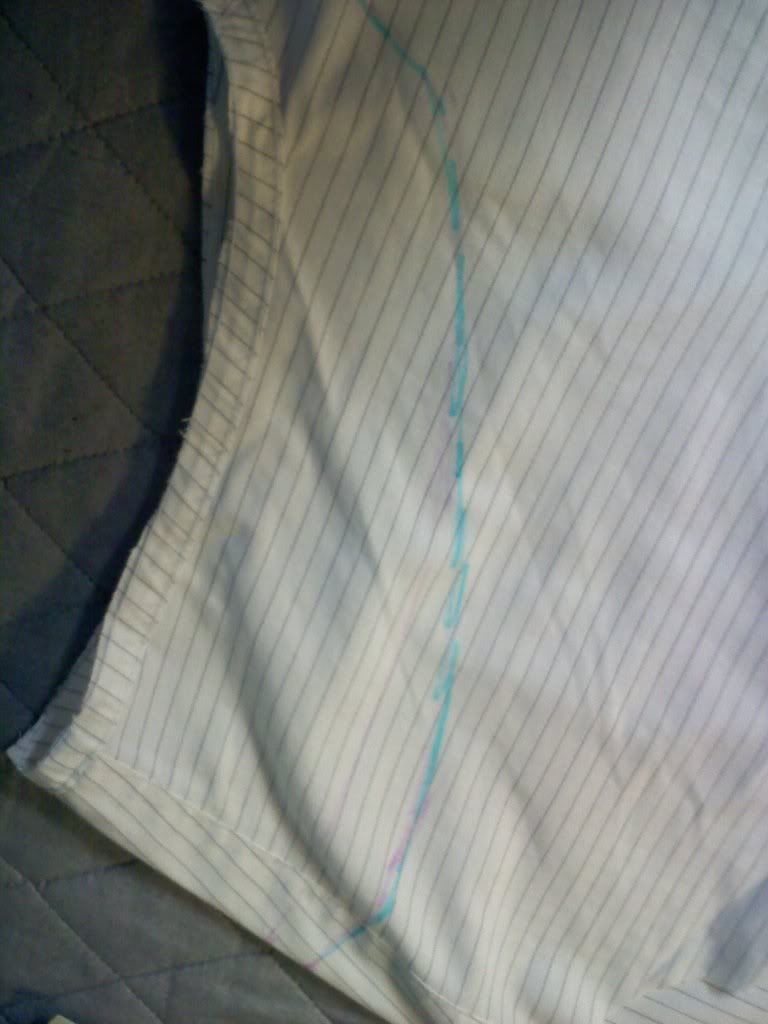
Figure out how much you need to take it in*
*Important note here - make sure you take it in the same amount on both sides
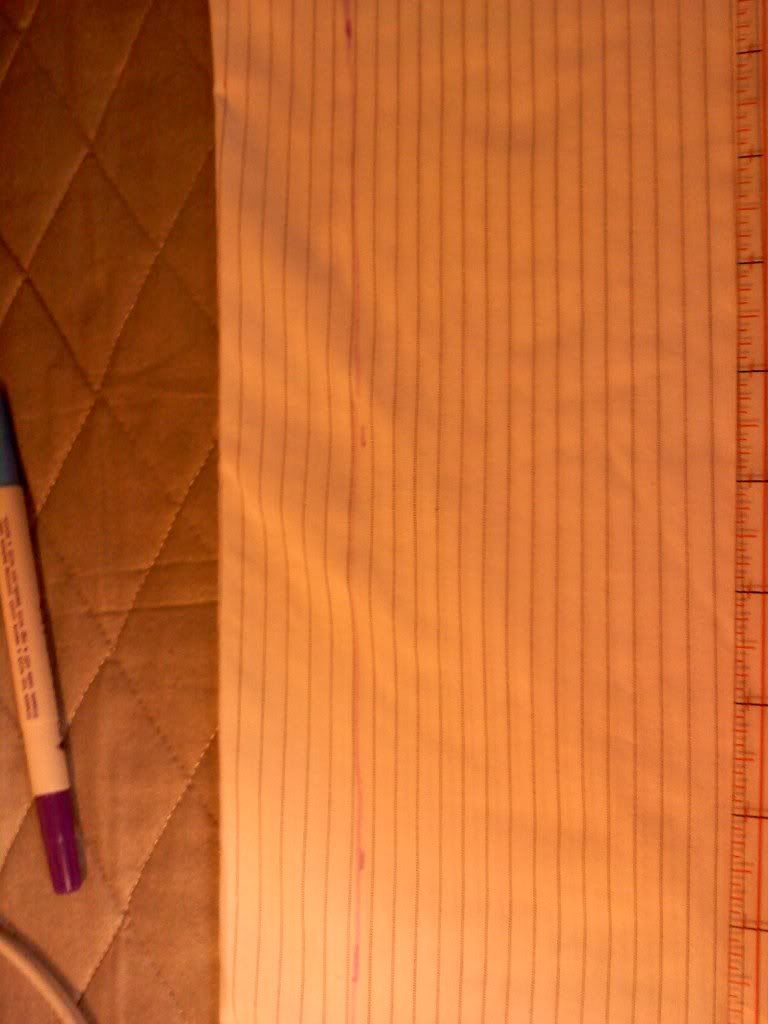
Mark it
(sorry about the weird lighting)
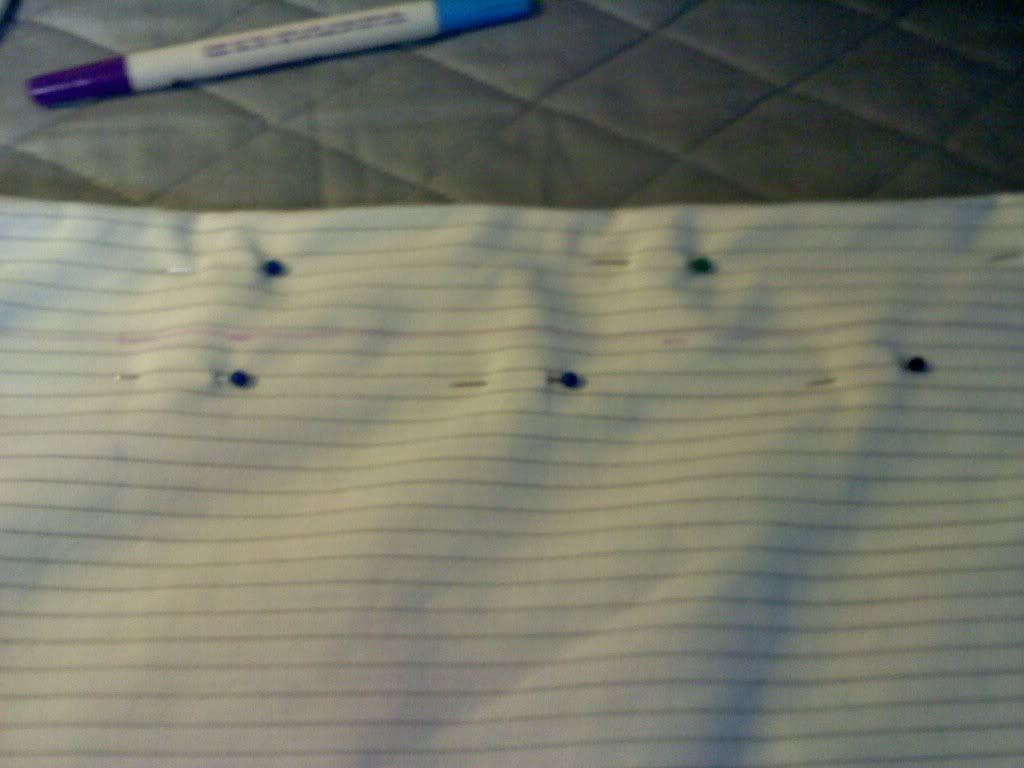
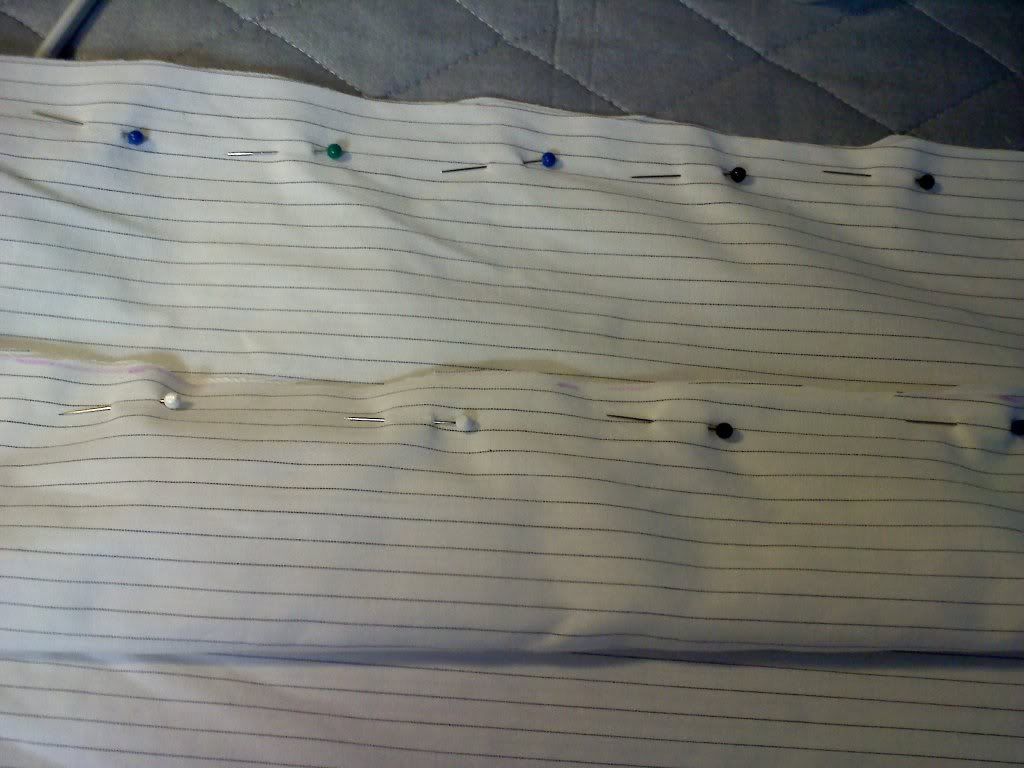
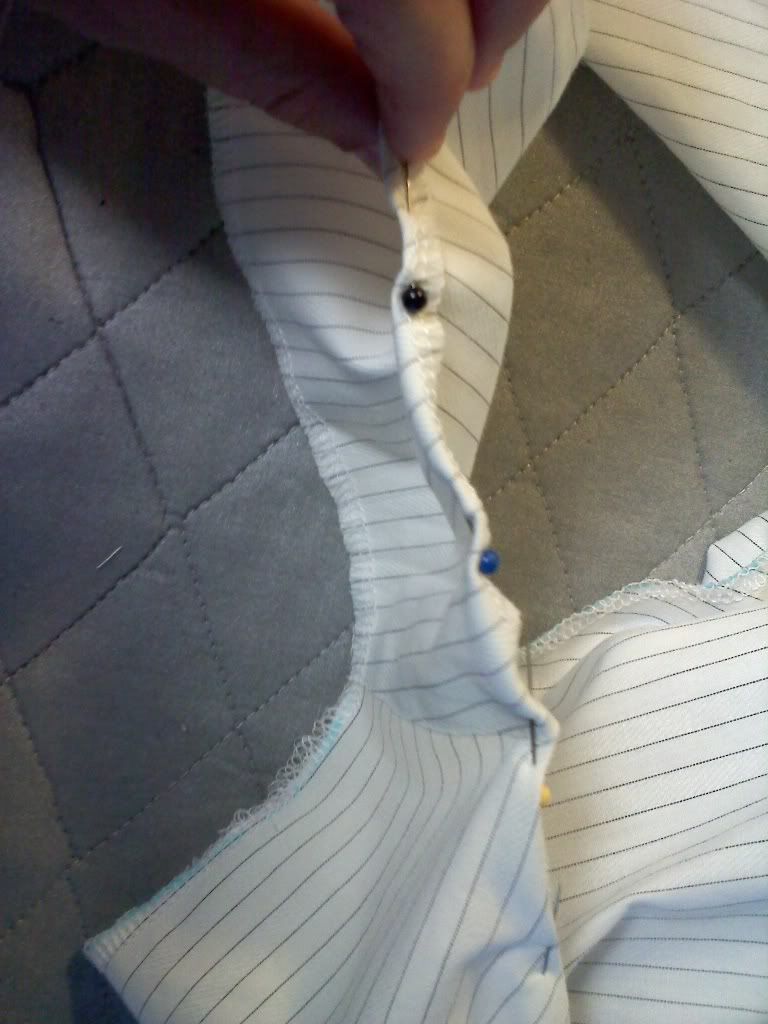
Pin the shirt together. At least on the inside of the marked line*
*Make sure when cutting to give yourself a seam allowance!
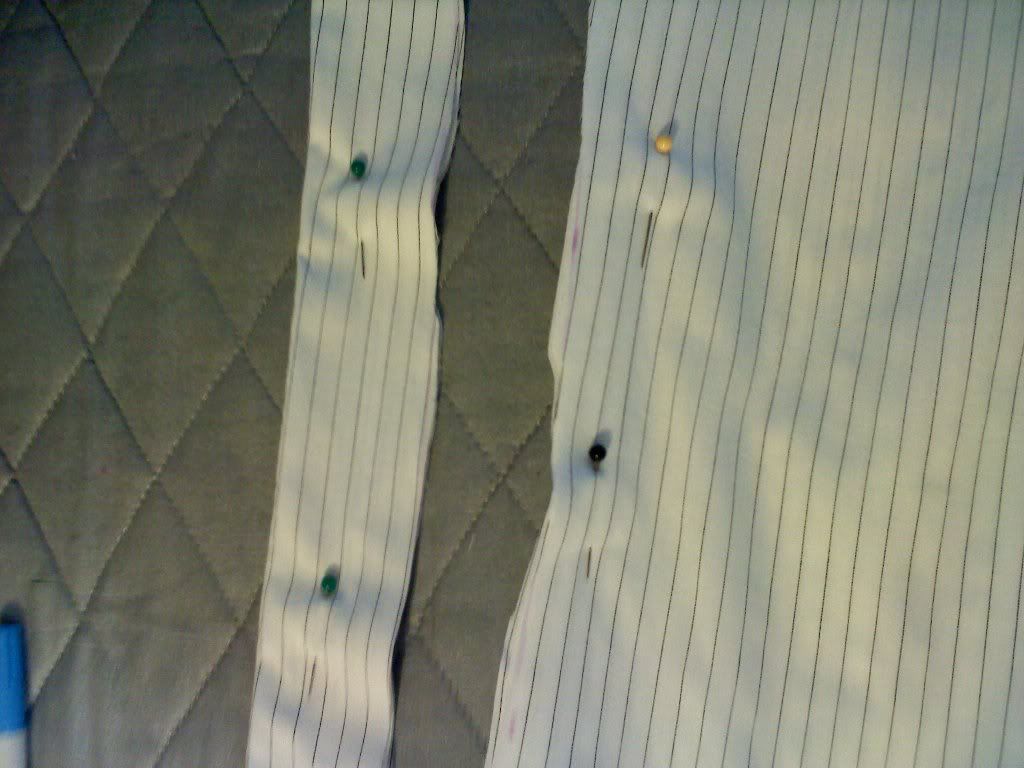
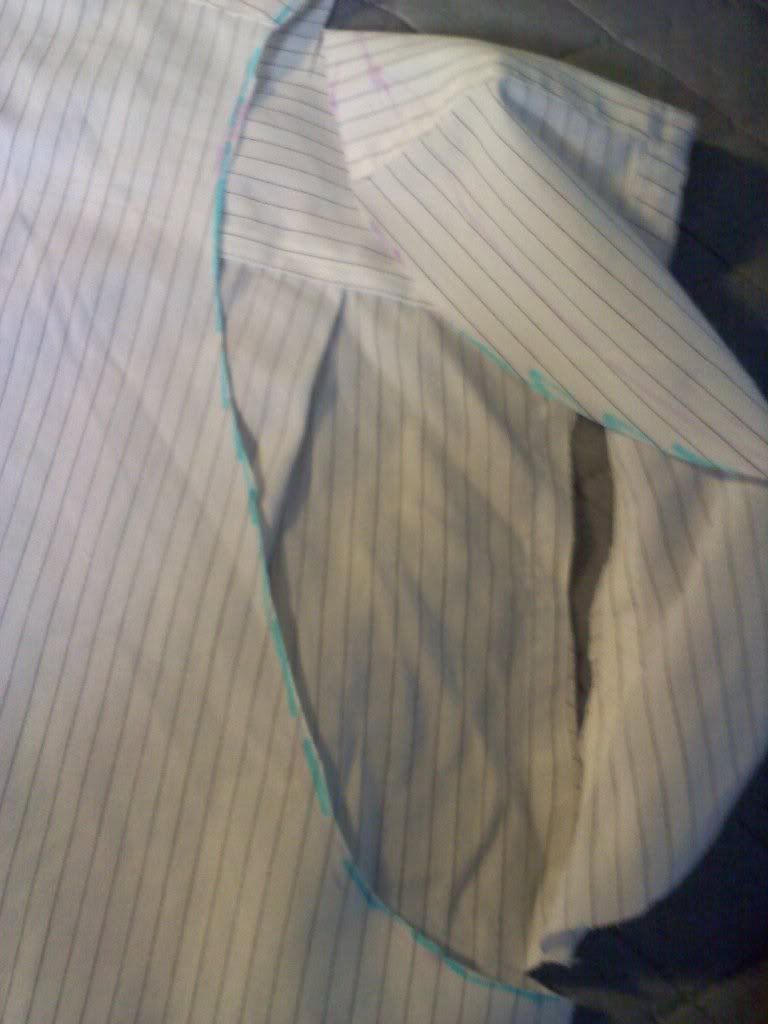
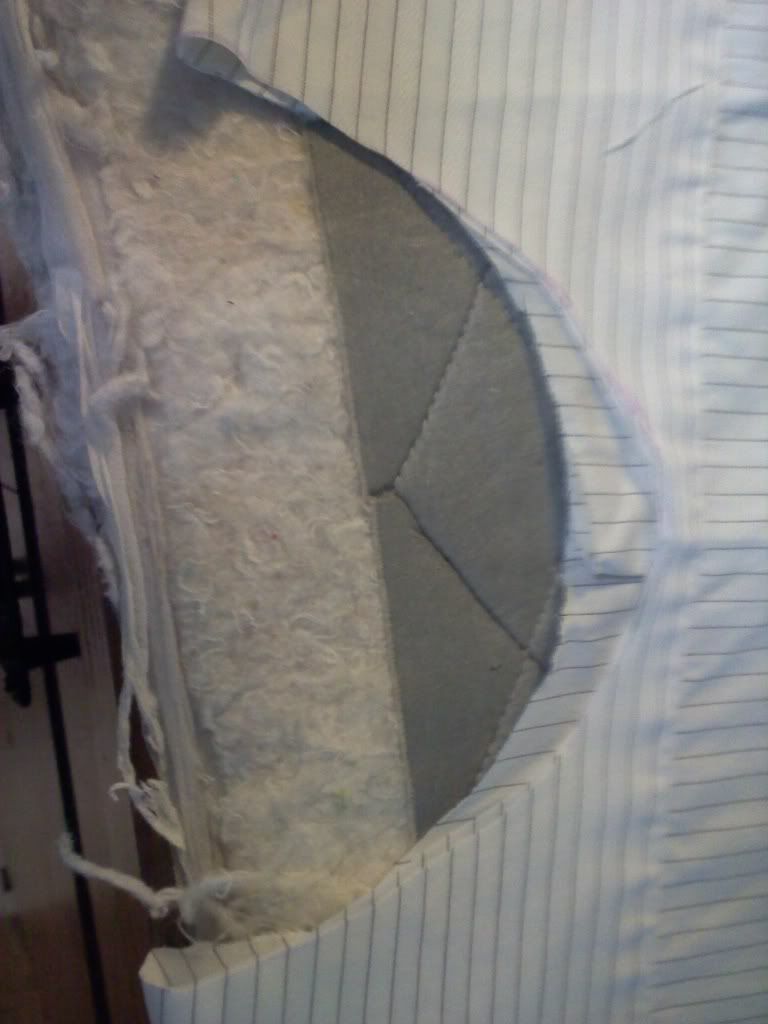
Cut down the line.
Leave pins on the inside of the cut.
Now you're going to sew the sides*
*Make sure to sew from the arm holes down
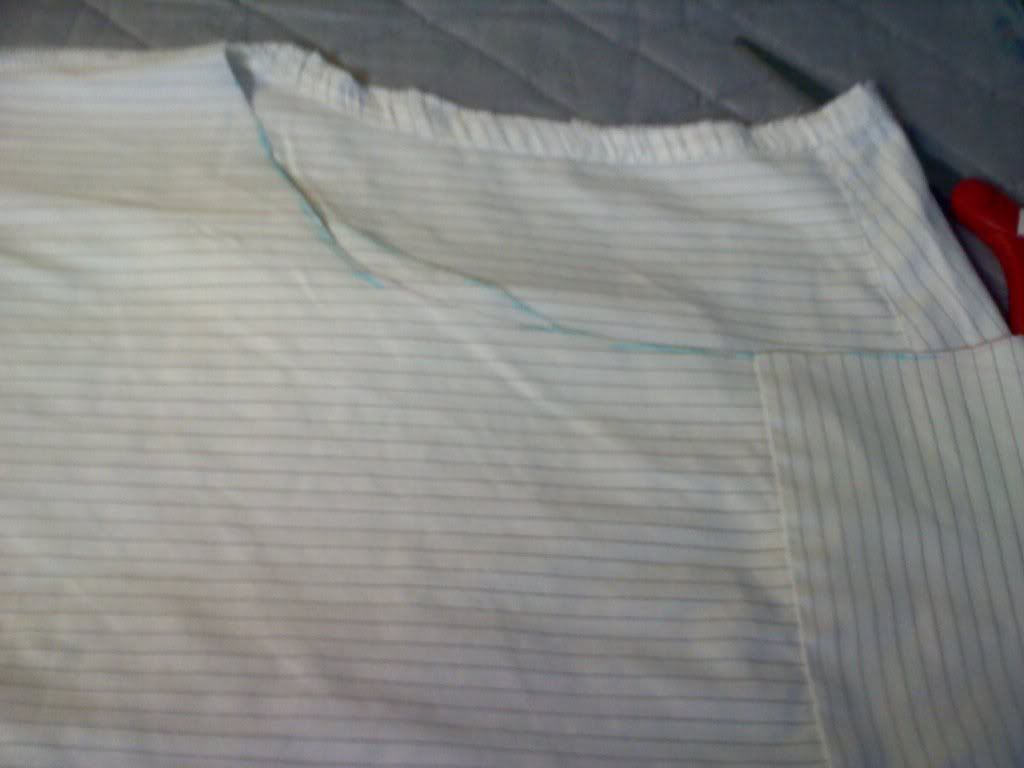
Now time for the arm part.
Figure out where you want the sleeve to be, mark and cut, if its like mine I had the back of the shirt more like a razor back shirt. So the back was different than the front.
For the collar - cut it where you would like it.
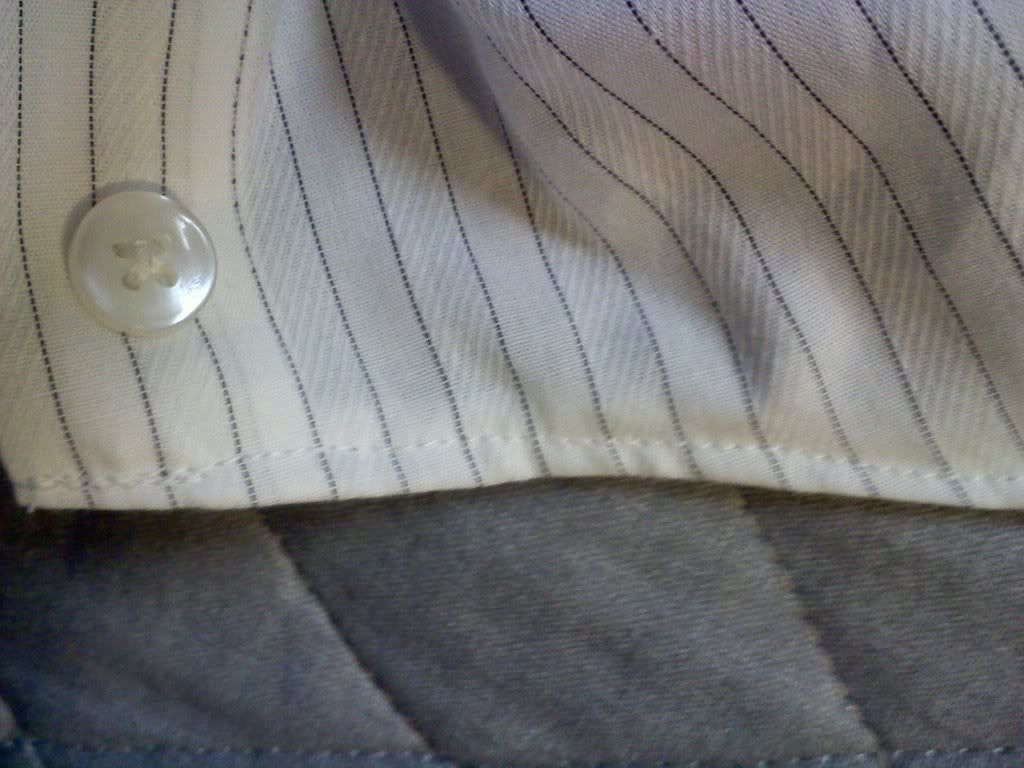
Fold over edges and sew.
Do this for the collar, arm holes, and bottom of shirt.
I dont know why I dont have a pic of the bottom but, cut it off where you would like the length to be.
All done!
Turn right-side out and wear it!

Very cool idea. Pics are great - looks easy to do!
ReplyDeleteThank you!
Delete