Thursday, July 12, 2012

Button Bracelet


Hello everyone!

Today I will be showing you how to do a quick, easy, and best of all cheap project.
(Sorry that some of the pics are blurry... I cant find my camera and I am using my phone)

You will need just a few things to do this:
- Buttons
- Pliers
- Bracelet/Necklace thing*
    * Sorry I dont know what to call it... I got mine from Walmart. It was in the craft section by the ribbon for $1!


Now this it where you can get creative.

I just did knots and added the buttons and then tied knots again..


I did this on a few strads


You can do them as close or far apart as possibe

I did two strads of just knots


Take your pliers and clamp the ends like the directions tell you to


I had to wrap mine around twice but... Ta-da!


I hope you like this how-to :)

If you have any questions/comments feel free to leave them

Happy Thursday everyone!


Monday, July 9, 2012

Shorts


Good morning everyone!
I hope you all had a good weekend.
(Sorry this post is up a little later than I anticipated)

Today's D.I.Y. will be about shorts!
There are a couple different ways to do shorts and I will do another tutorial on how to so those

Shorts are pretty simple to make once you know what you're doing.

Please, please, please - read this entire tutorial before starting!

So lets get started!

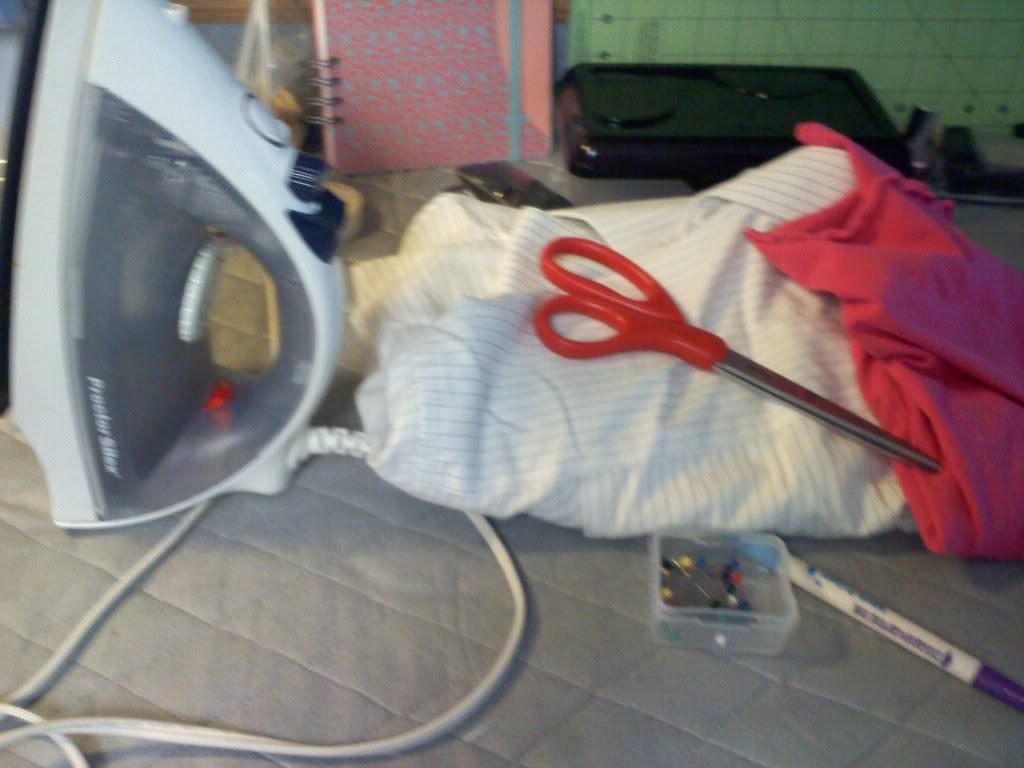
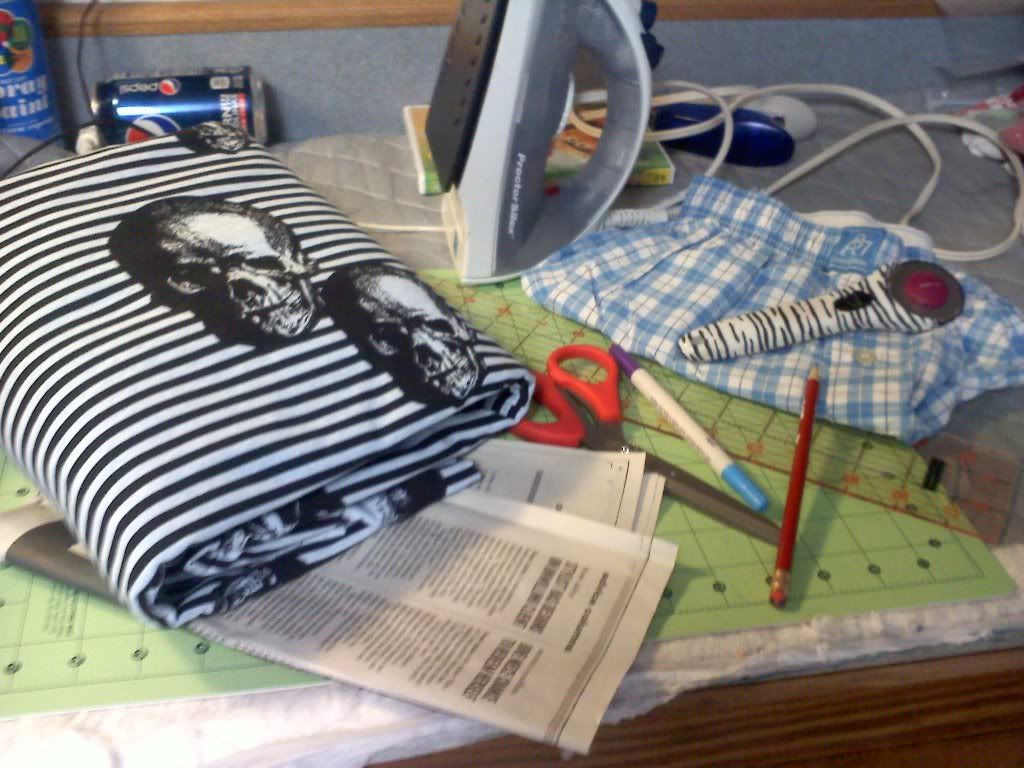
Items you will need will be:
- Fabric - I chose a knit material because you dont have to worry about it fraying
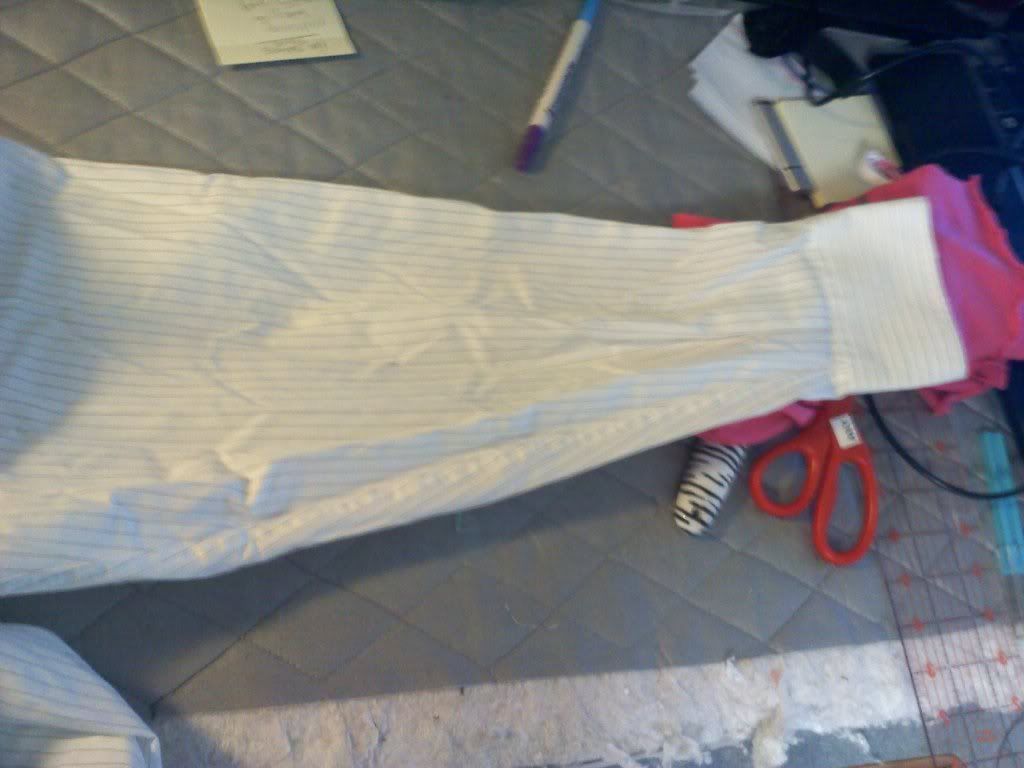
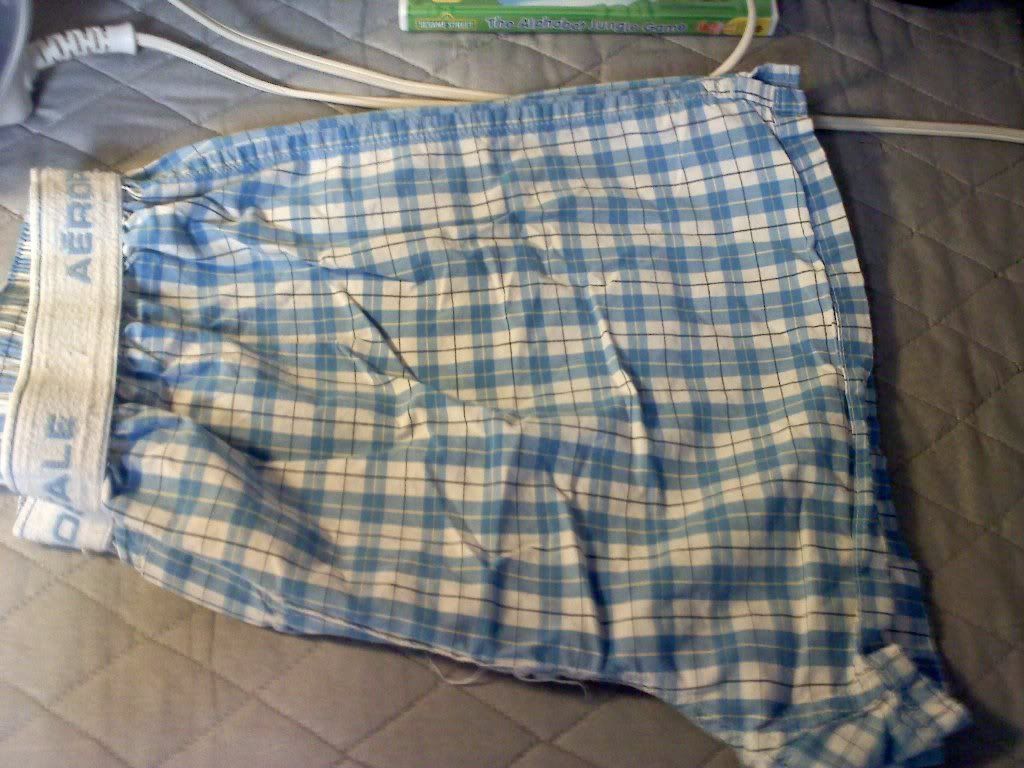
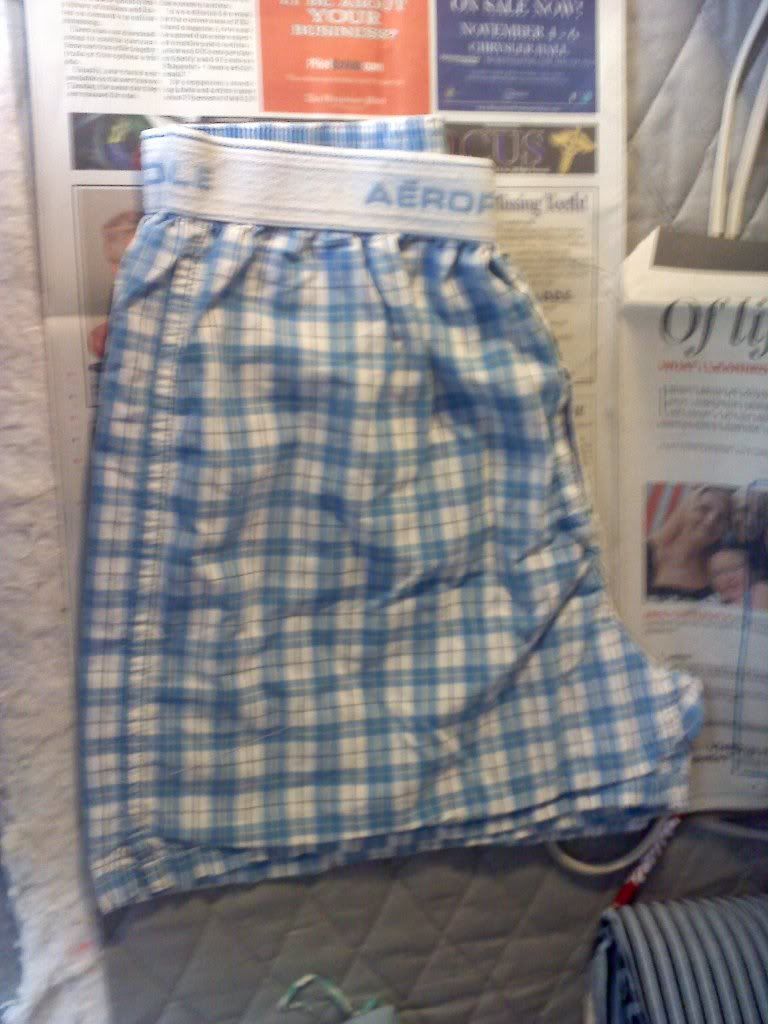
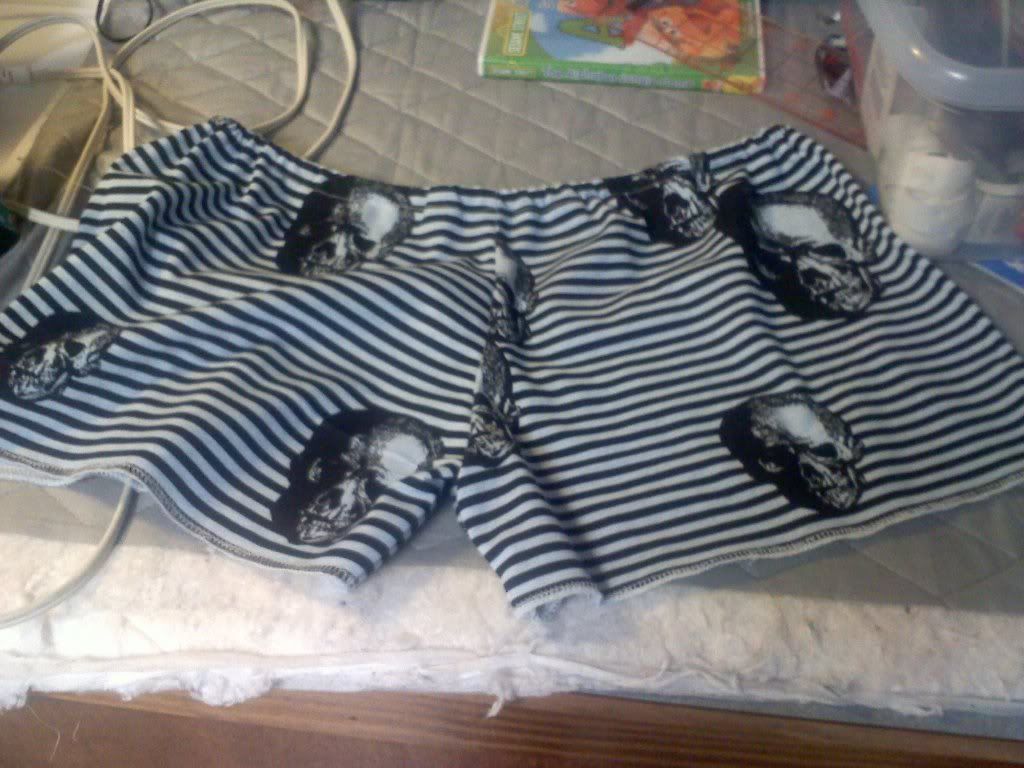
- A pair of shorts/boxers that fit comfortably
- Scissors or a Rotary cutter
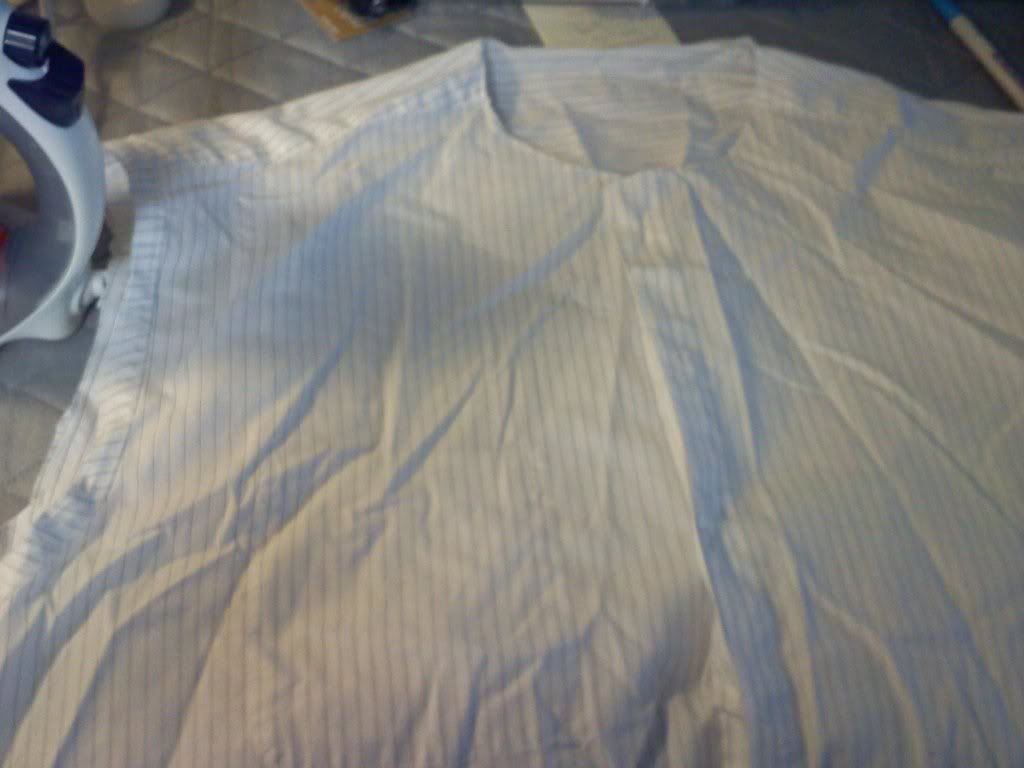
- Iron - if the shorts you're making your pattern from are wrinkly
- Fabric pen/chalk
- Newspaper - or another type of paper if you would like to keep the pattern for future use
- Pencil - if you're drawing on paper
- Elastic
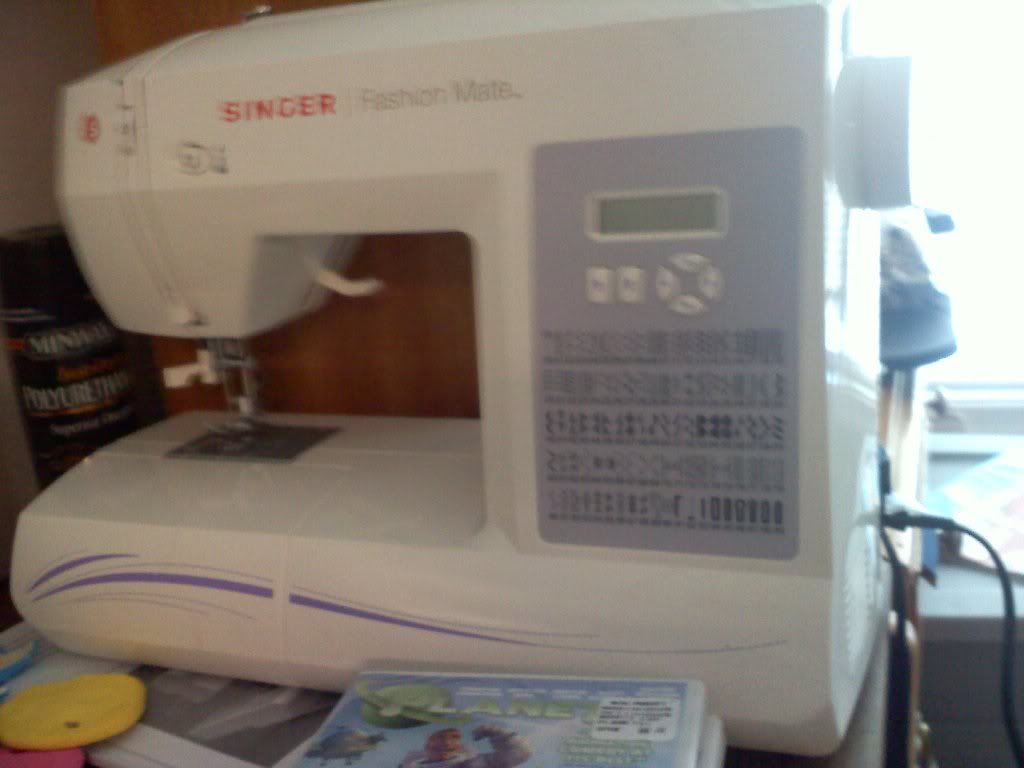
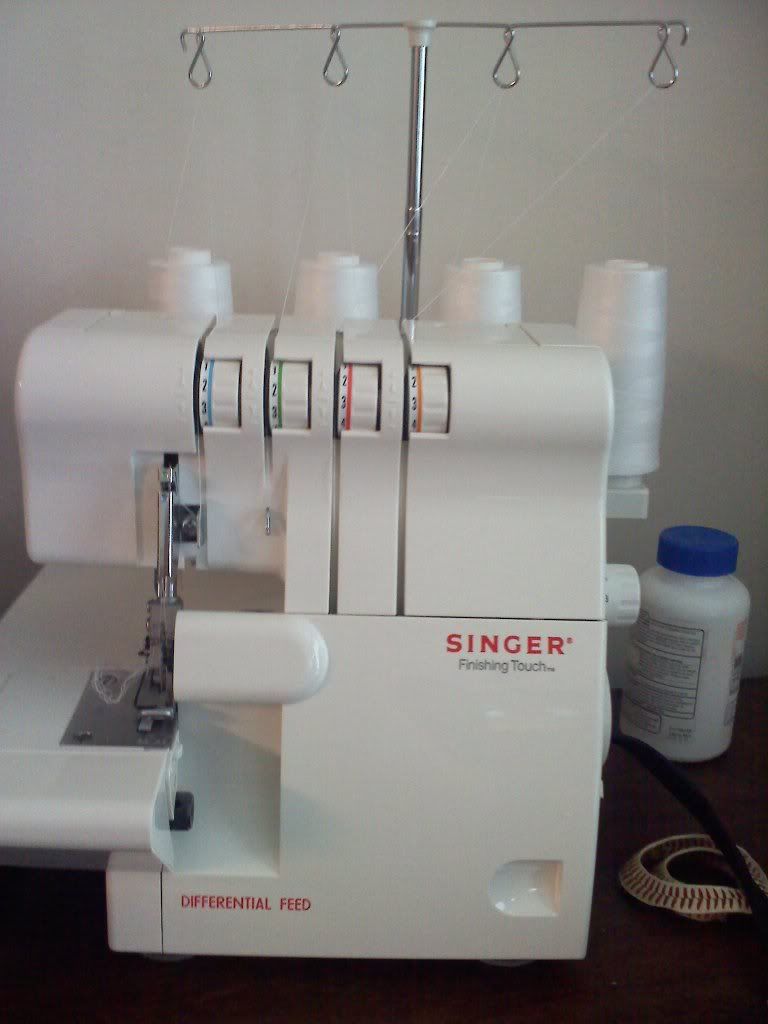
- Ans a Sewing machine
- Safety pin


- Lets get started!
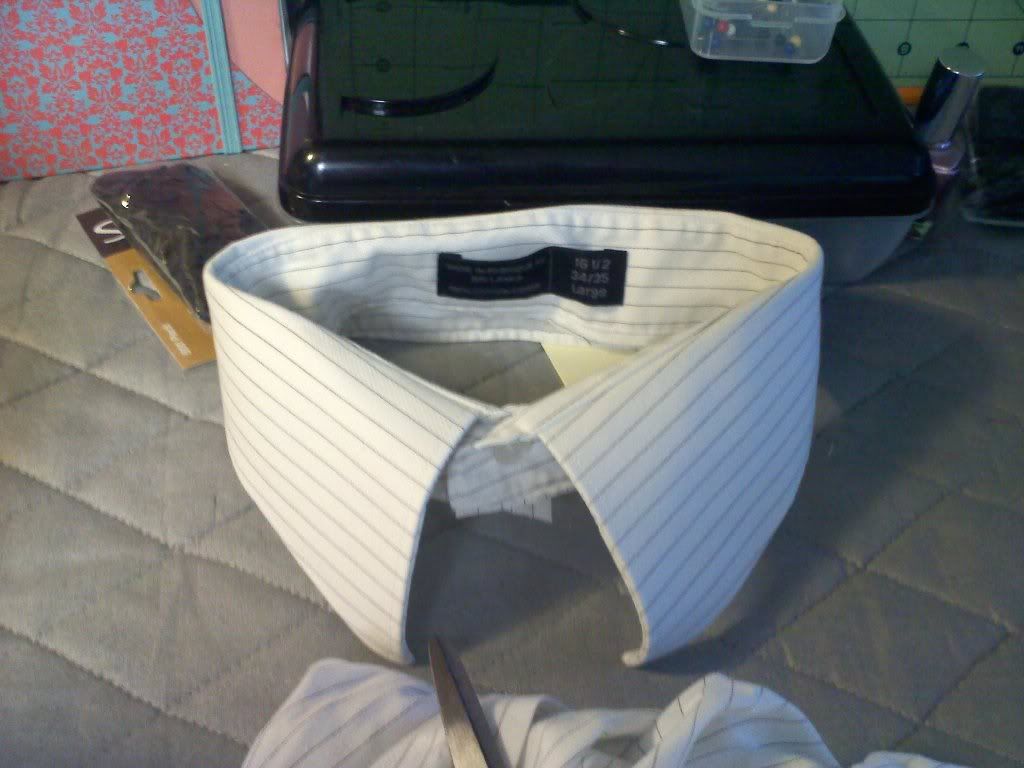
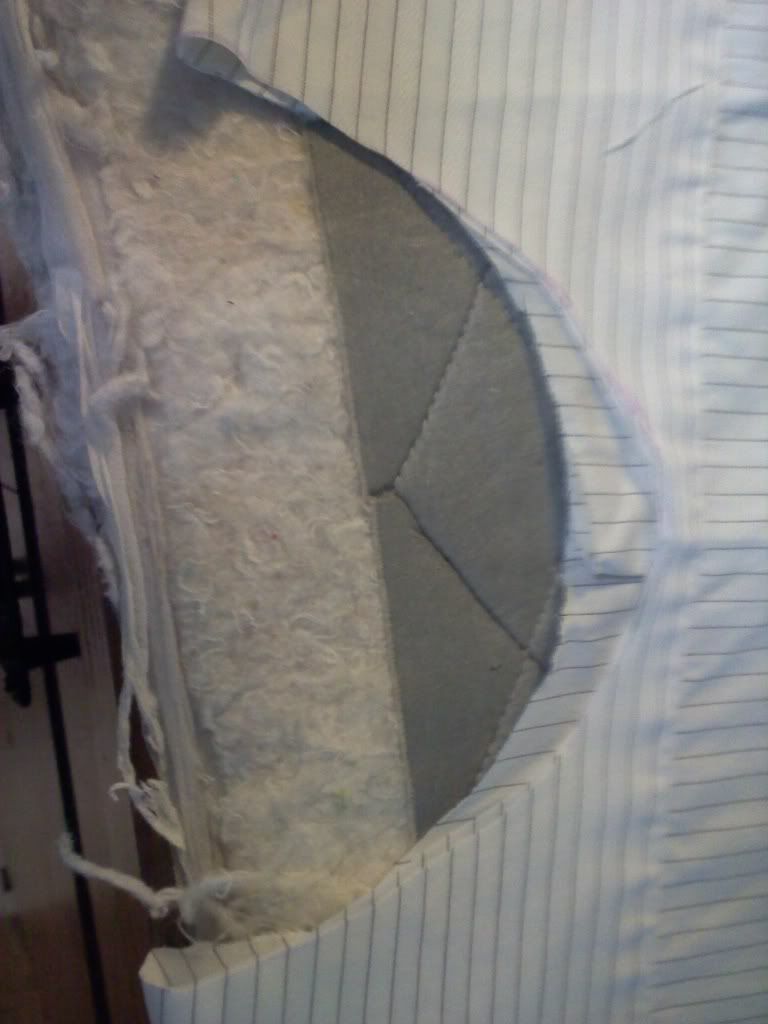
- Take your shorts and turn them inside out and fold them in half.


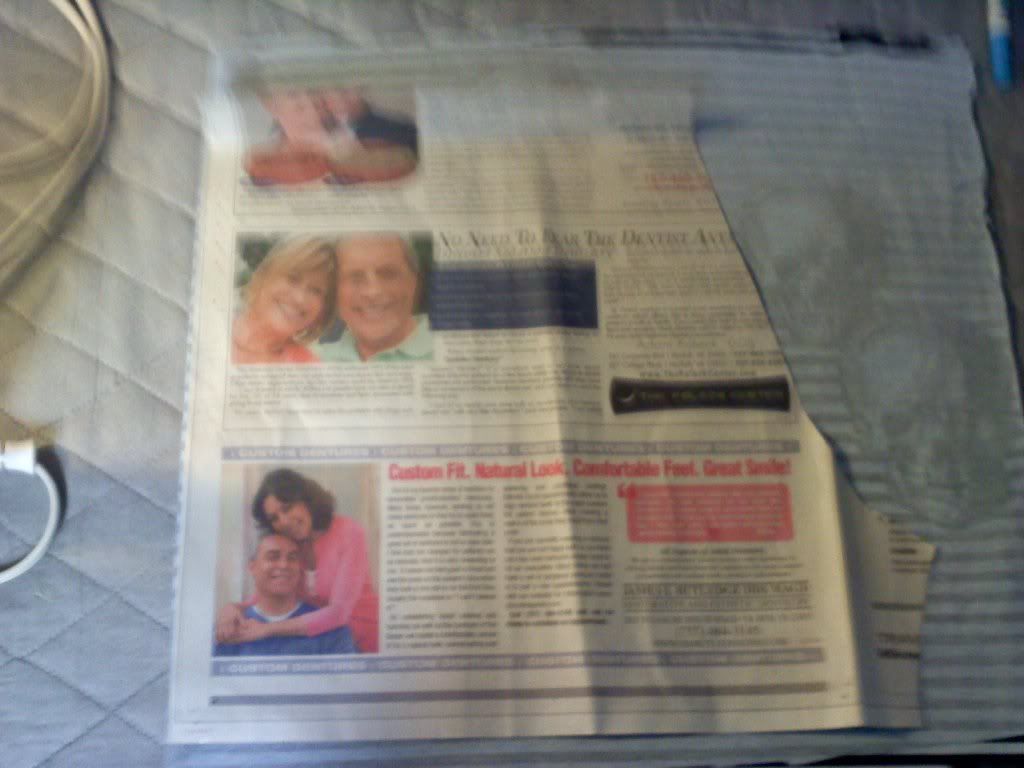
- Take your shorts and put them on the newspaper or if you're not using a newspaper put it on the fold of the fabric.
-Take your pencil and trace the outline of the shorts
-And cut the pattern out


(Sorry the pic is blurry)
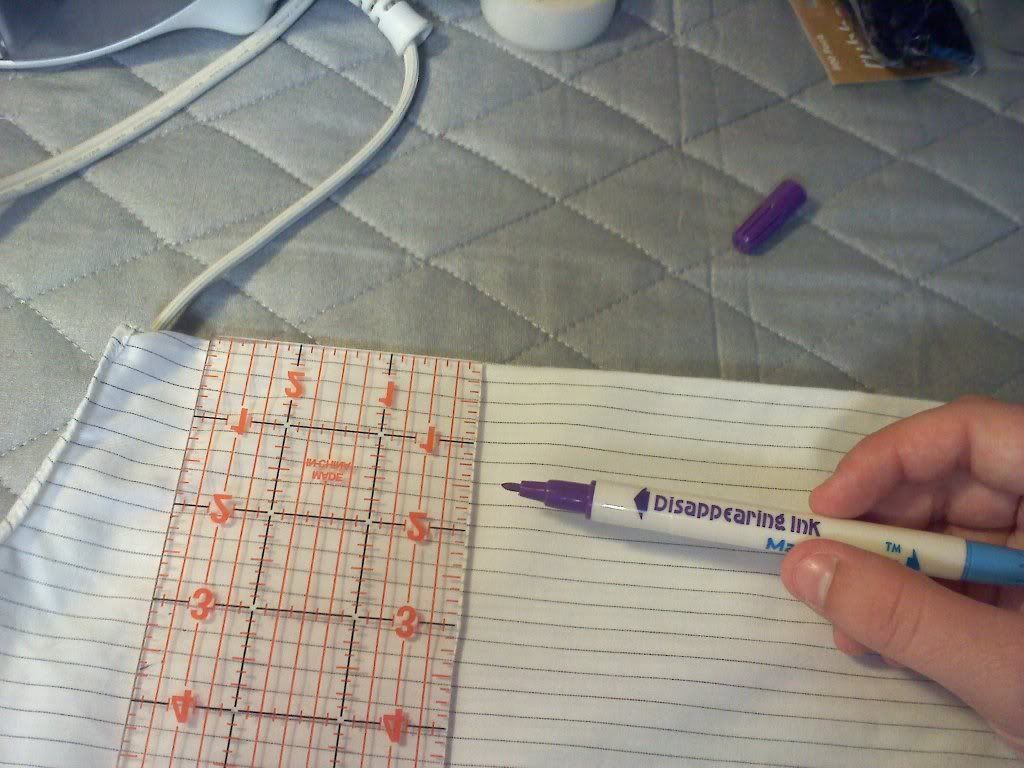
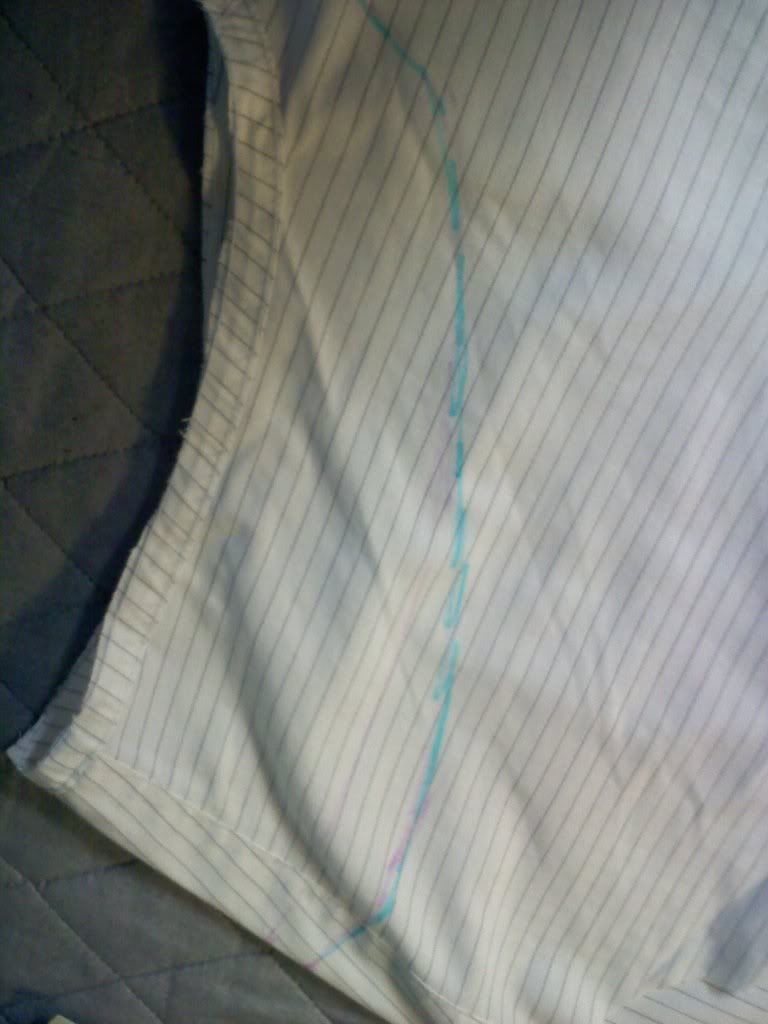
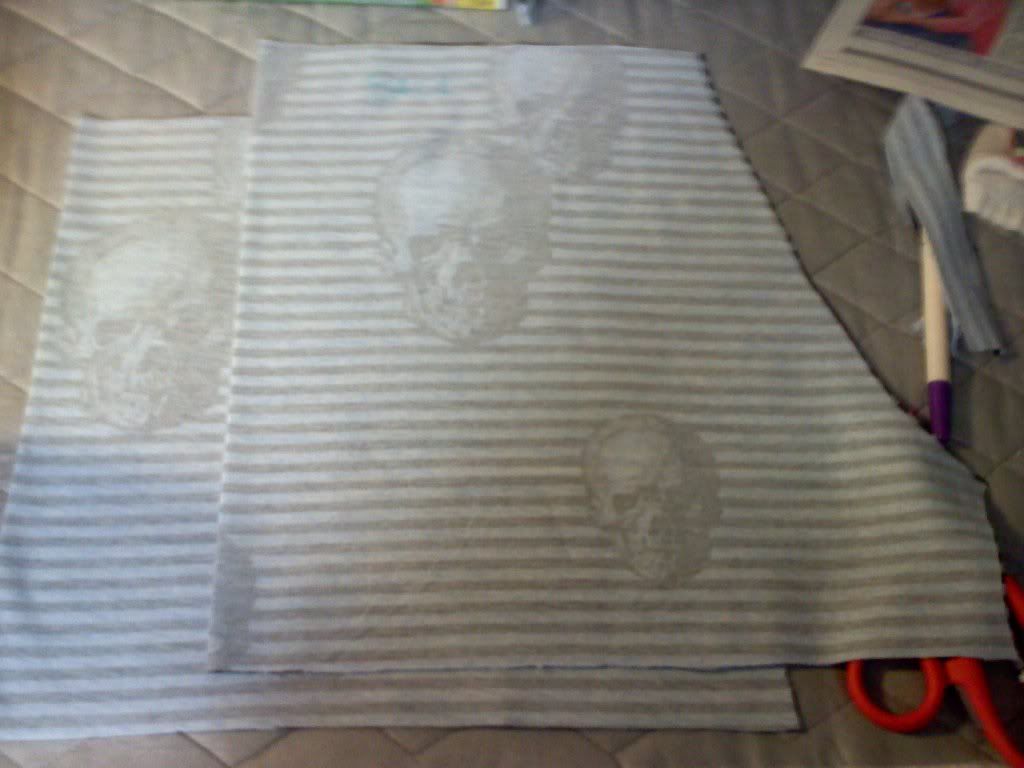
- Lay the pattern on the fold of the fabric
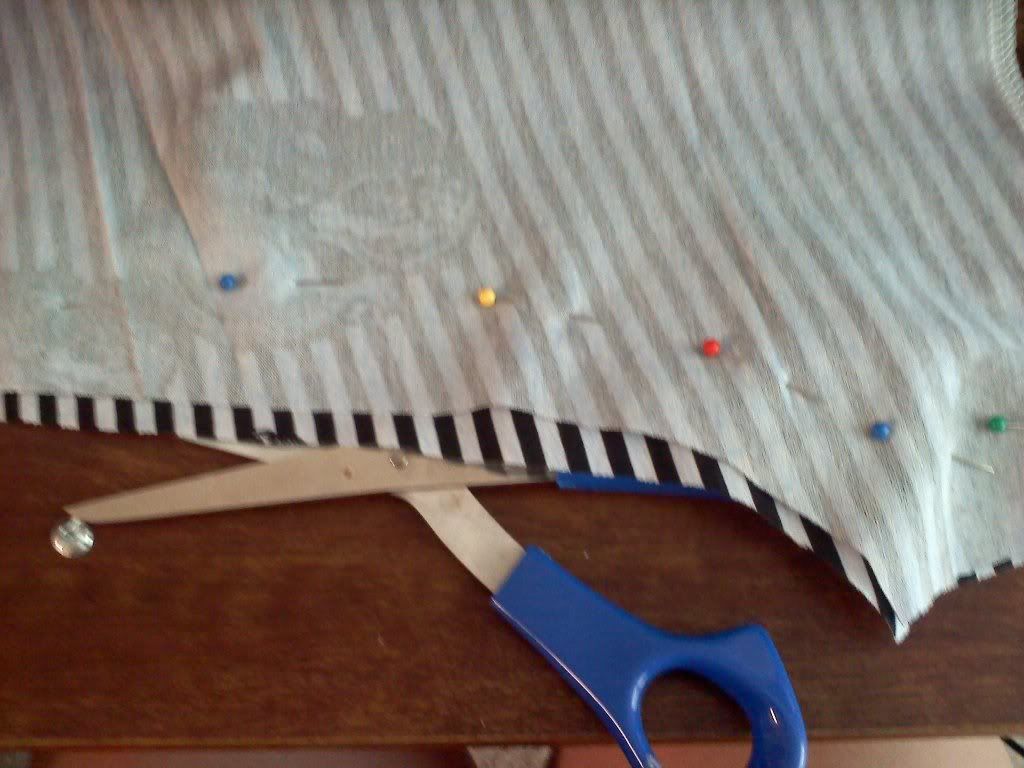
- Now you will take your fabric marking tool, and trace the pattern.*
*Note - you don't have to do this but I can't cut a sraight line to save my life...


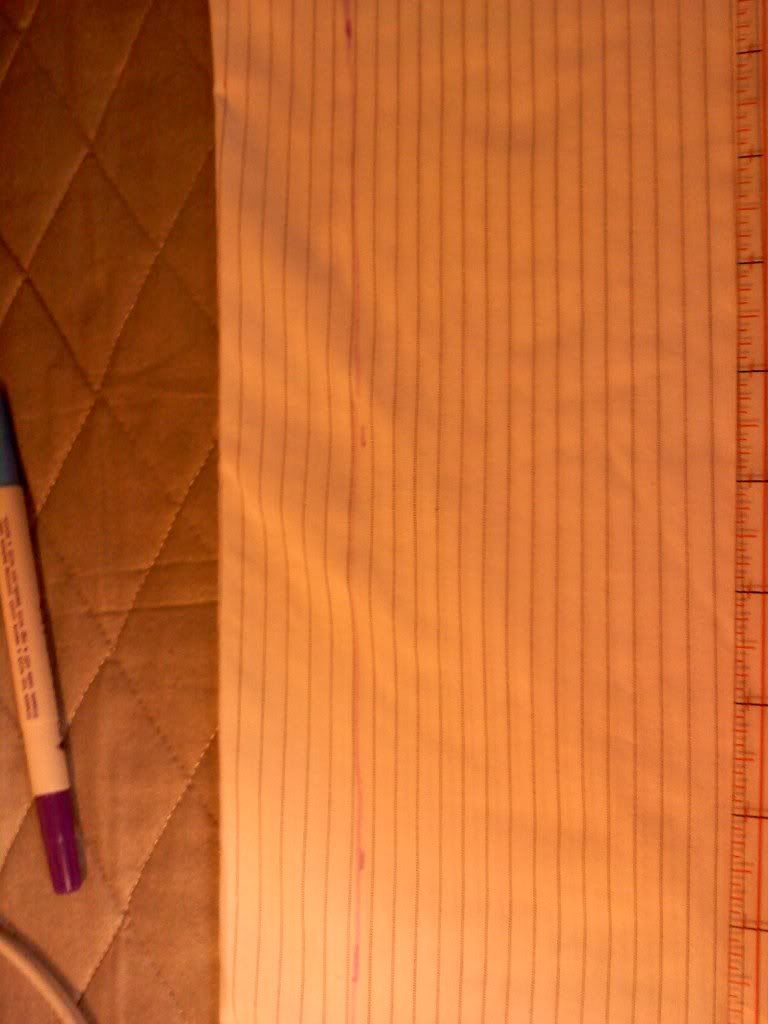
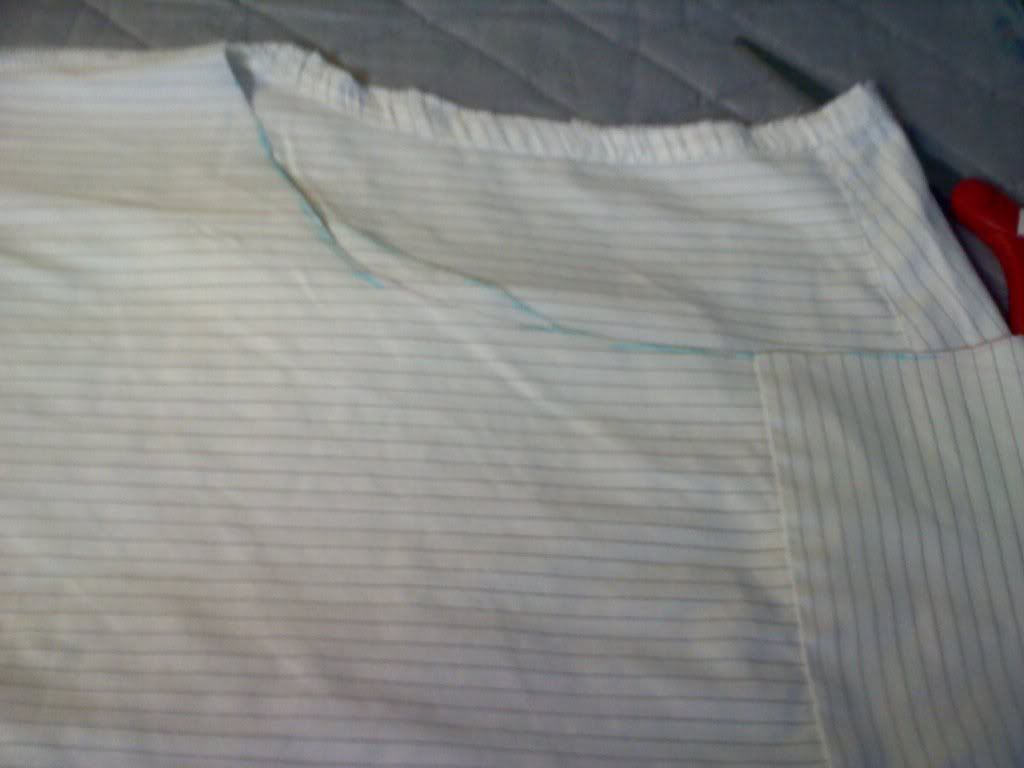
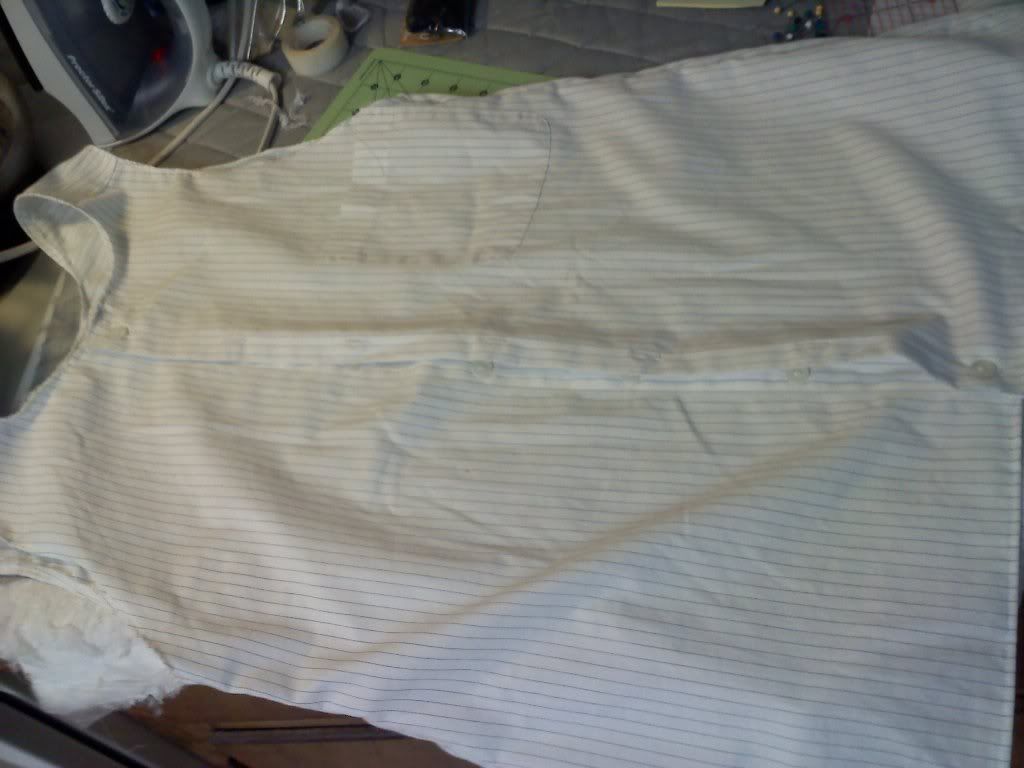
- This is what you should have after you cut it out


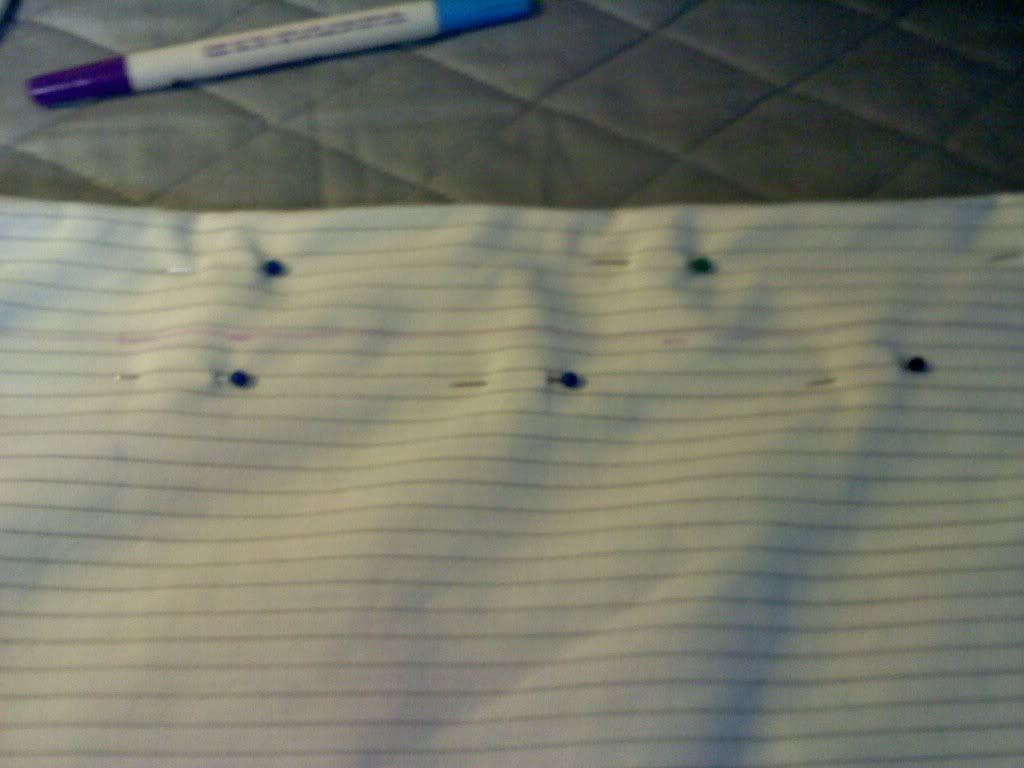
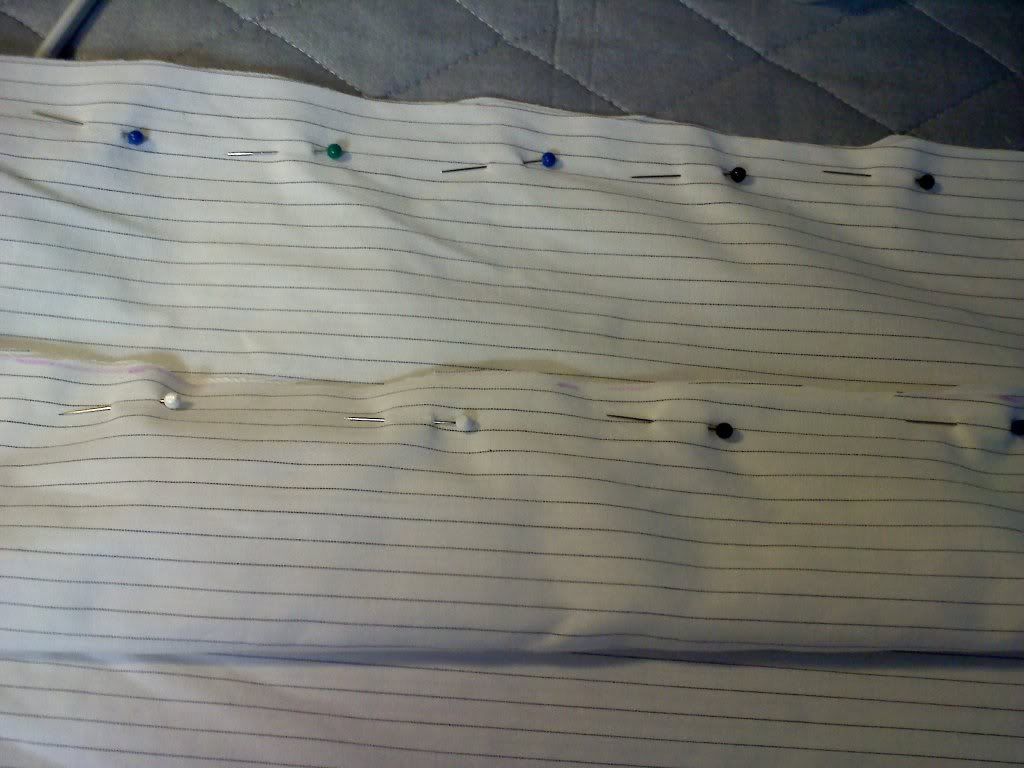
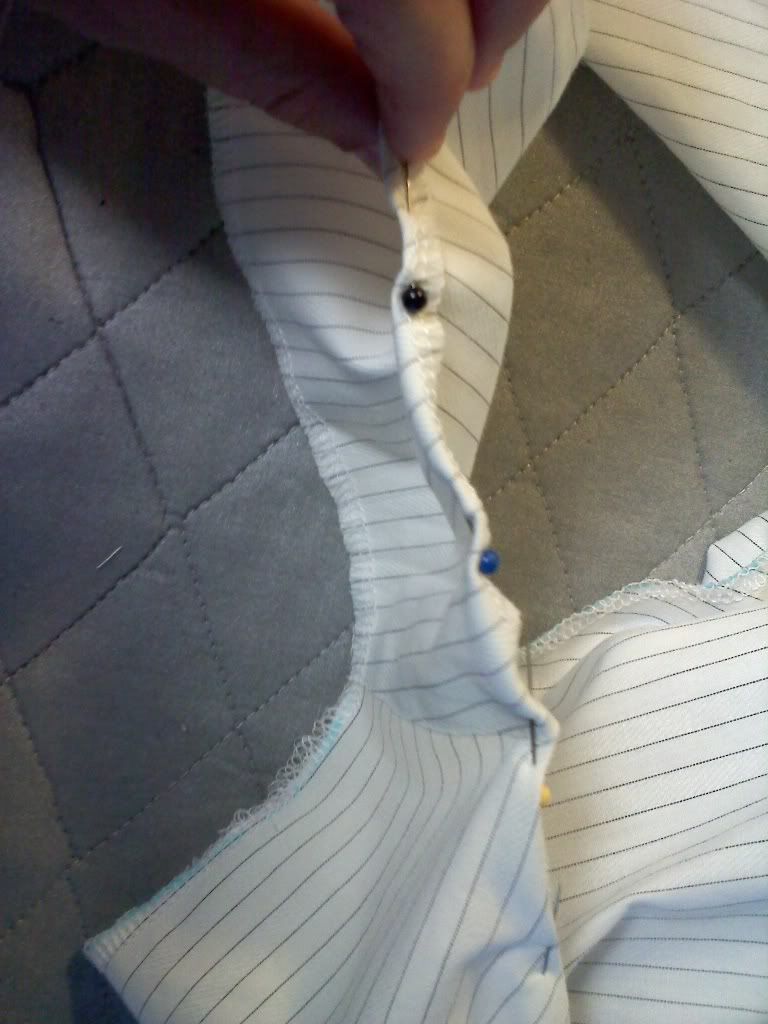
- Now take the two pieces you have and lay them on top of each other and pin.
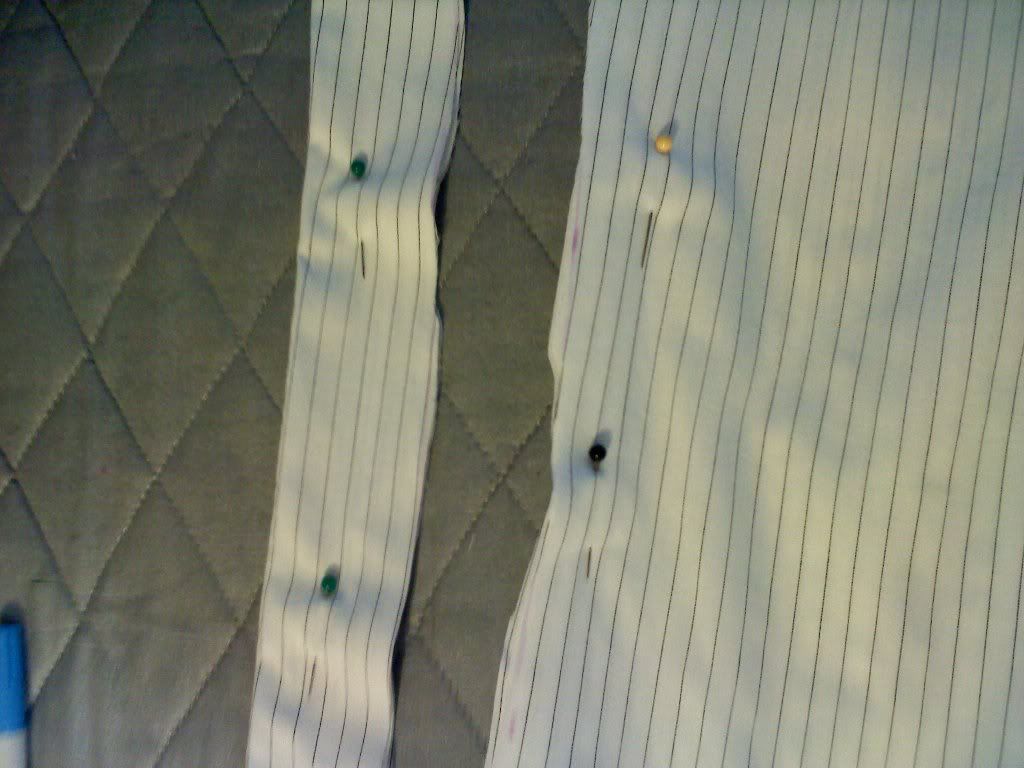
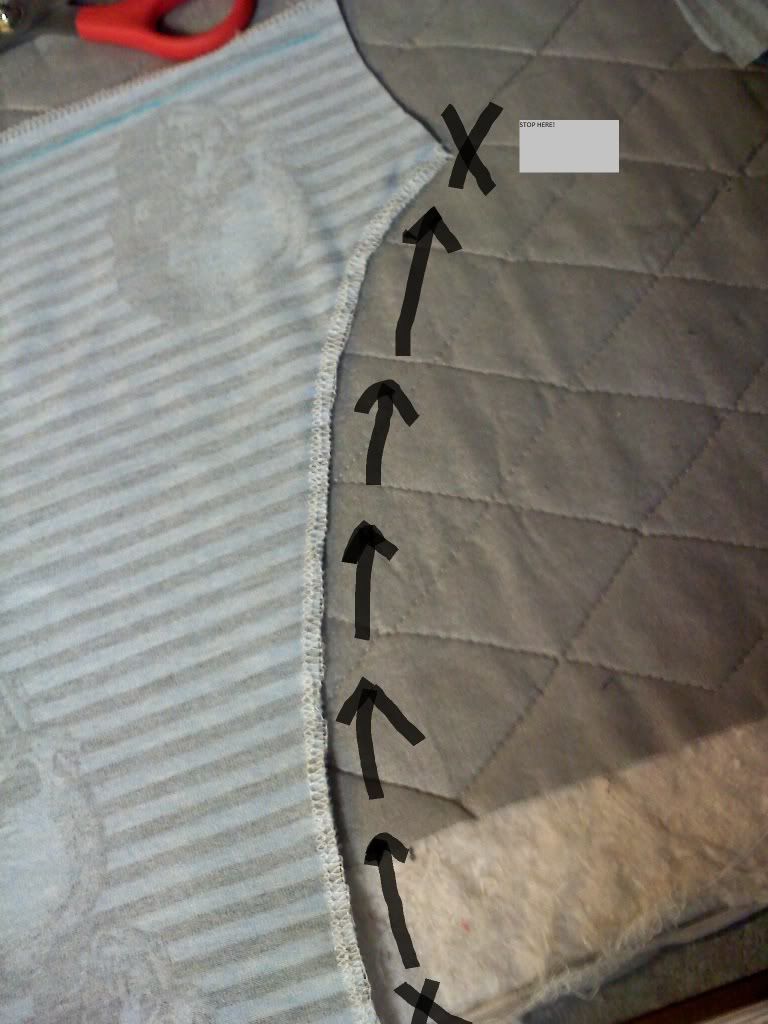
- You're going to sew the sides together


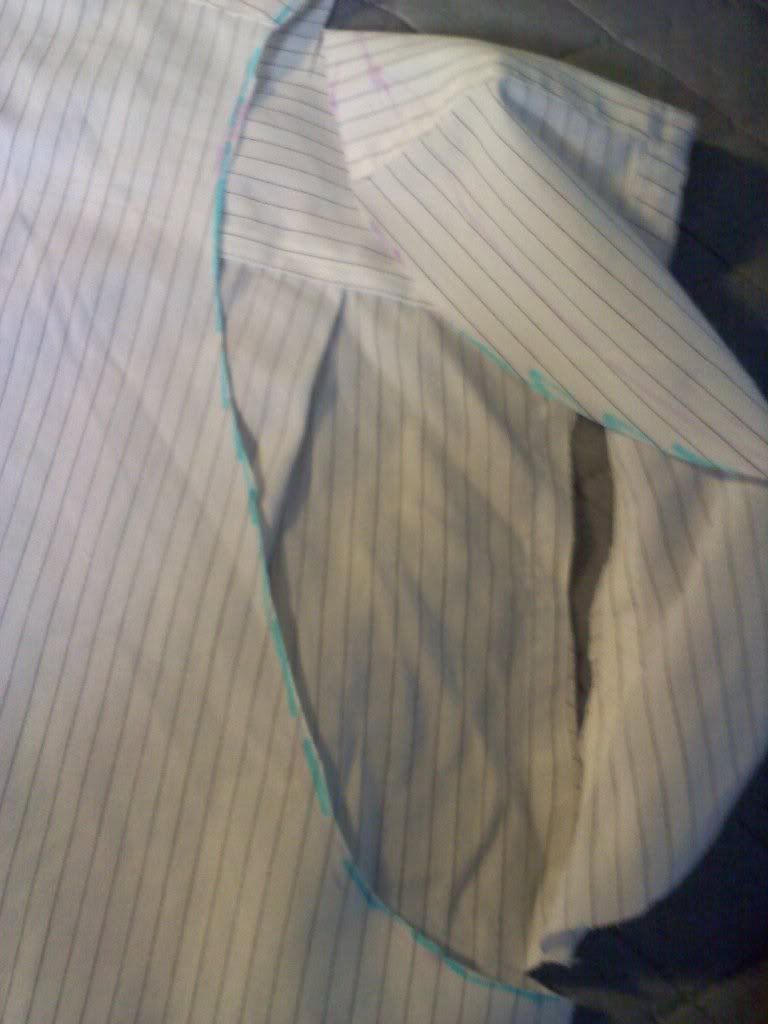
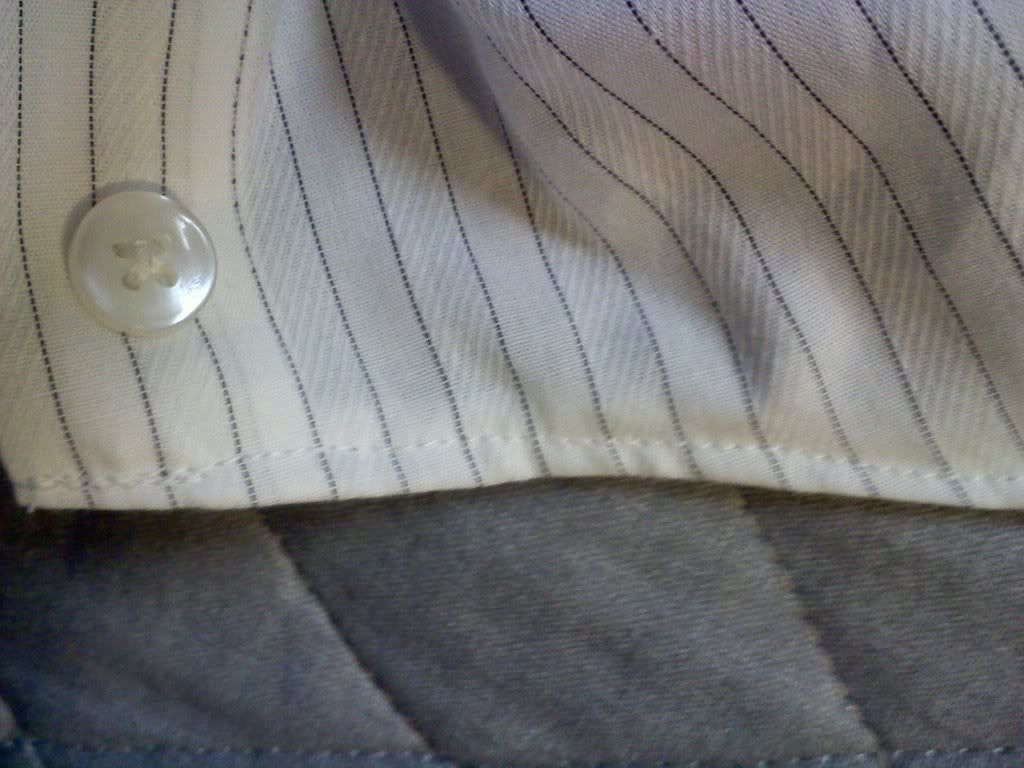
- Now time to sew this part


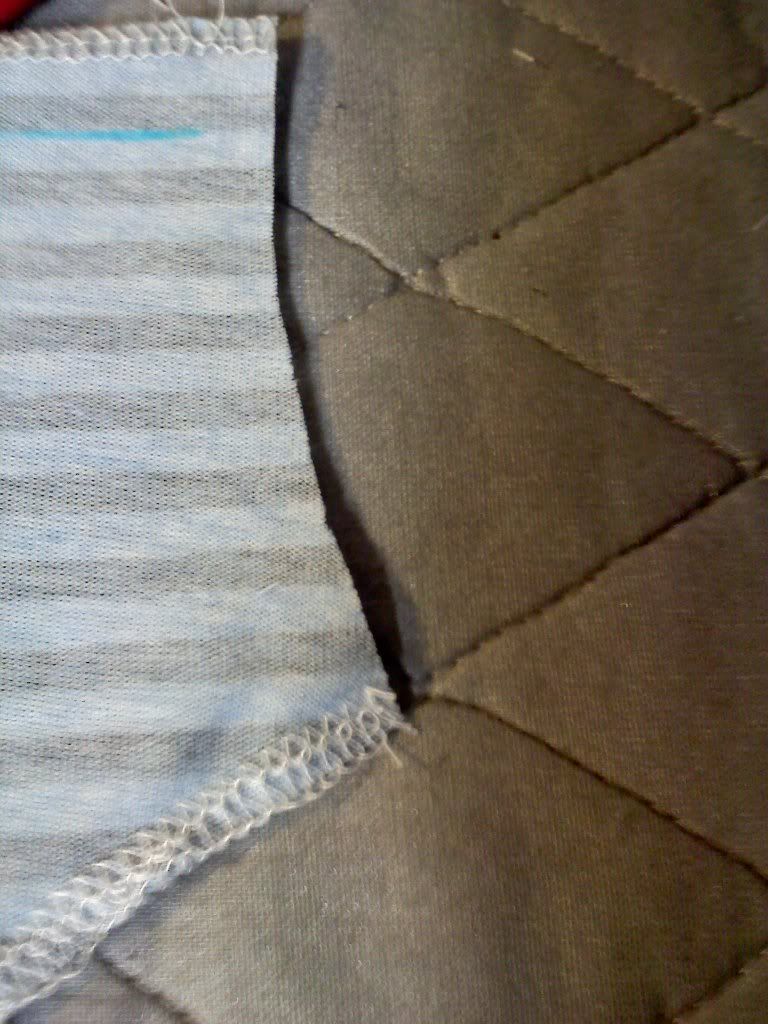
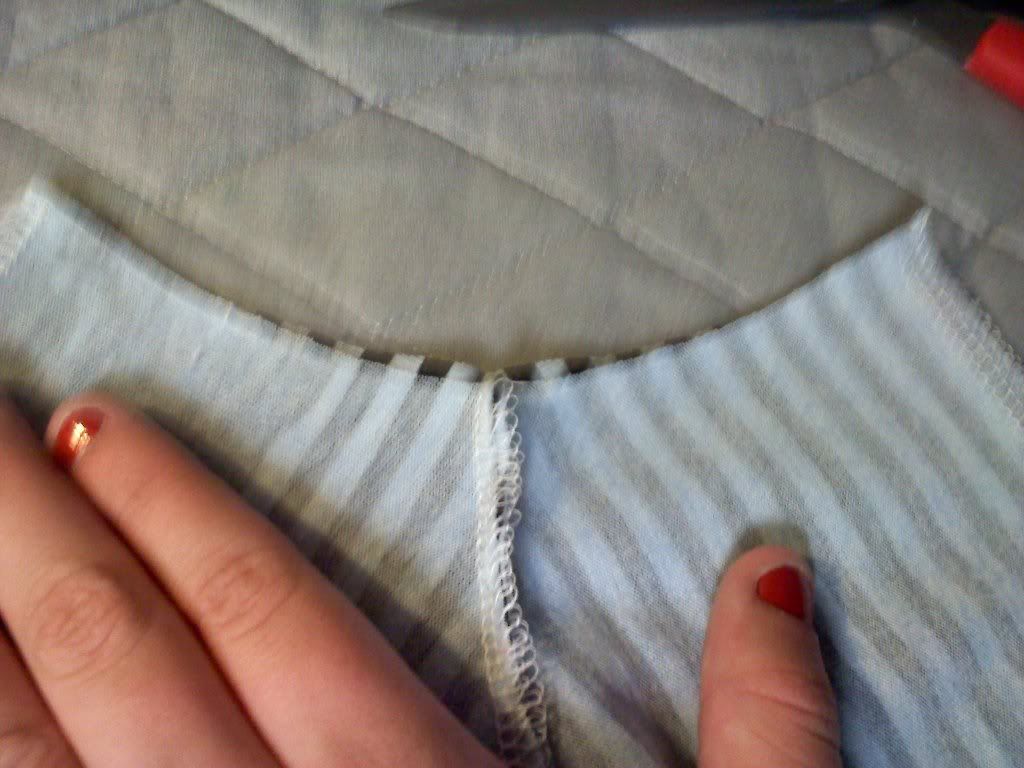
- Open the shorts up and lay the middle flat.
- Pin
- And sew it up


-NOW-
For the waist band

- Fold over and pin 
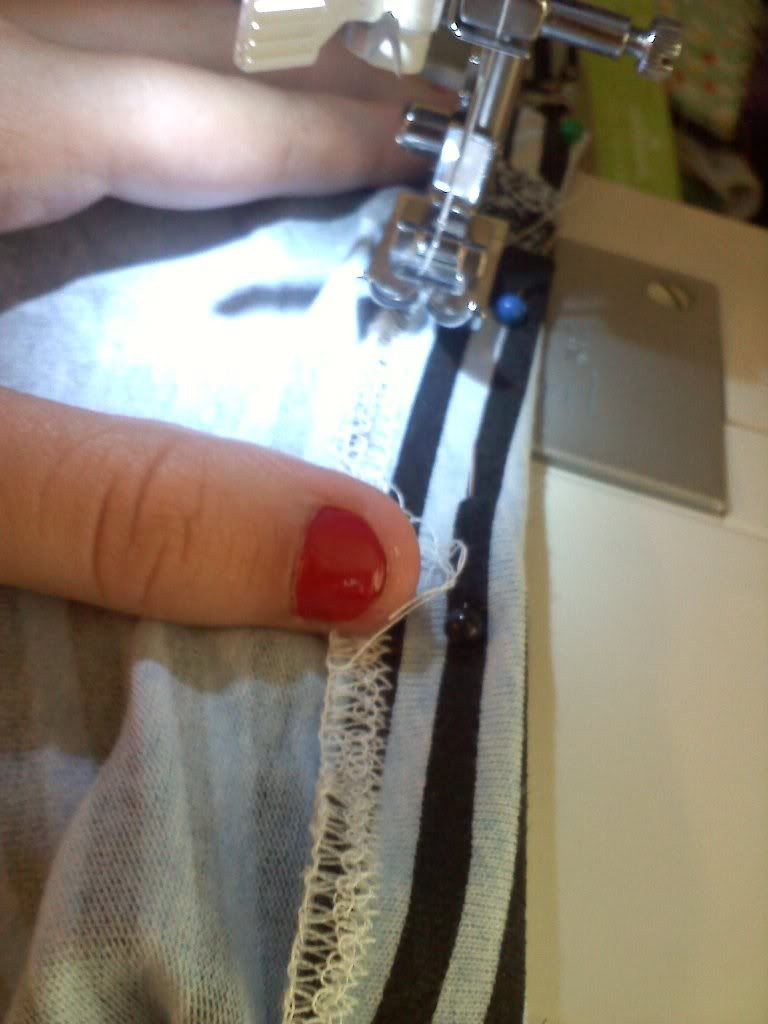
- Sew around, Leave a hole about an inch or more - depending on the size of your elastic


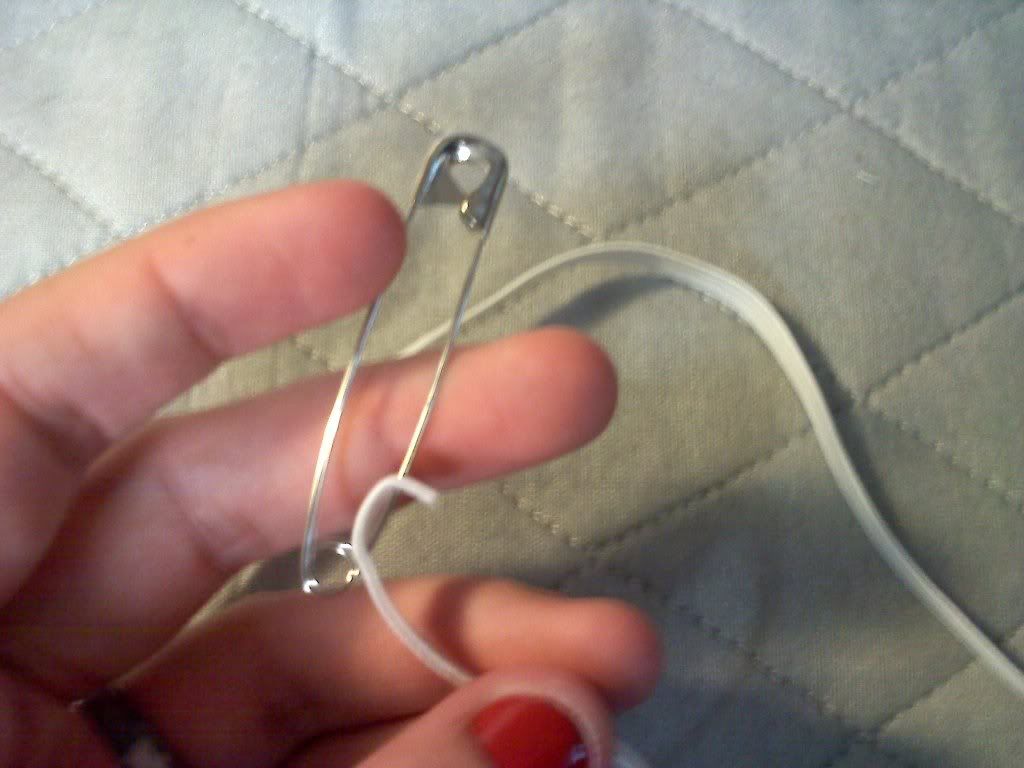
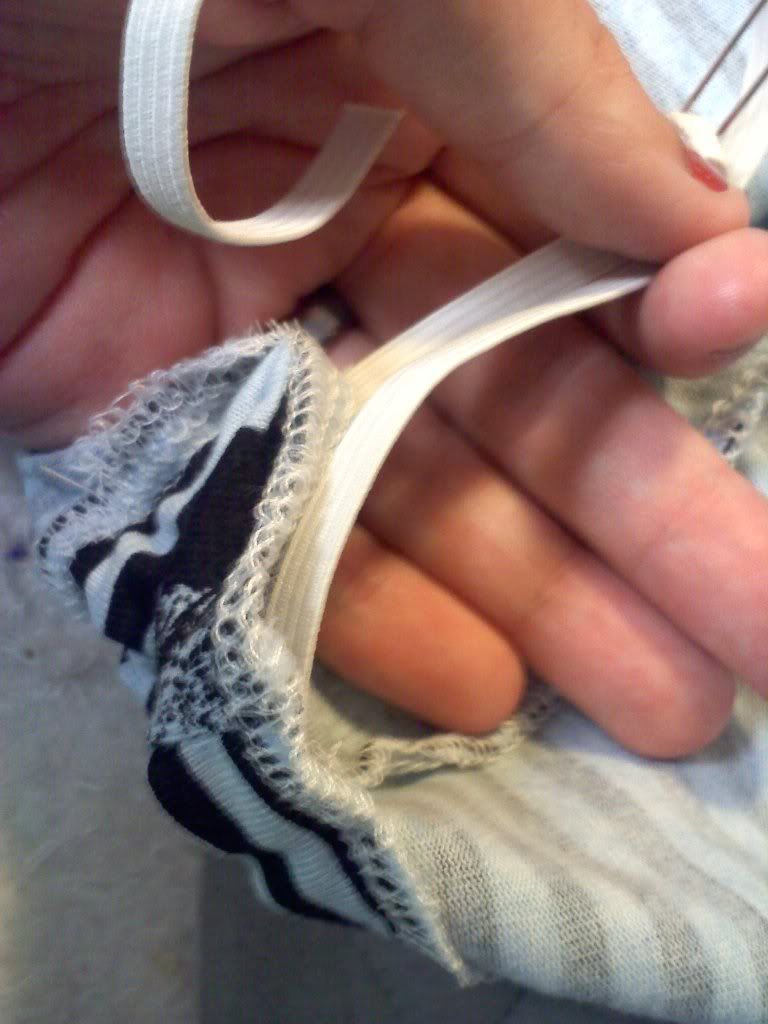
- Take you're elastic and safety pin and thread it though the hole


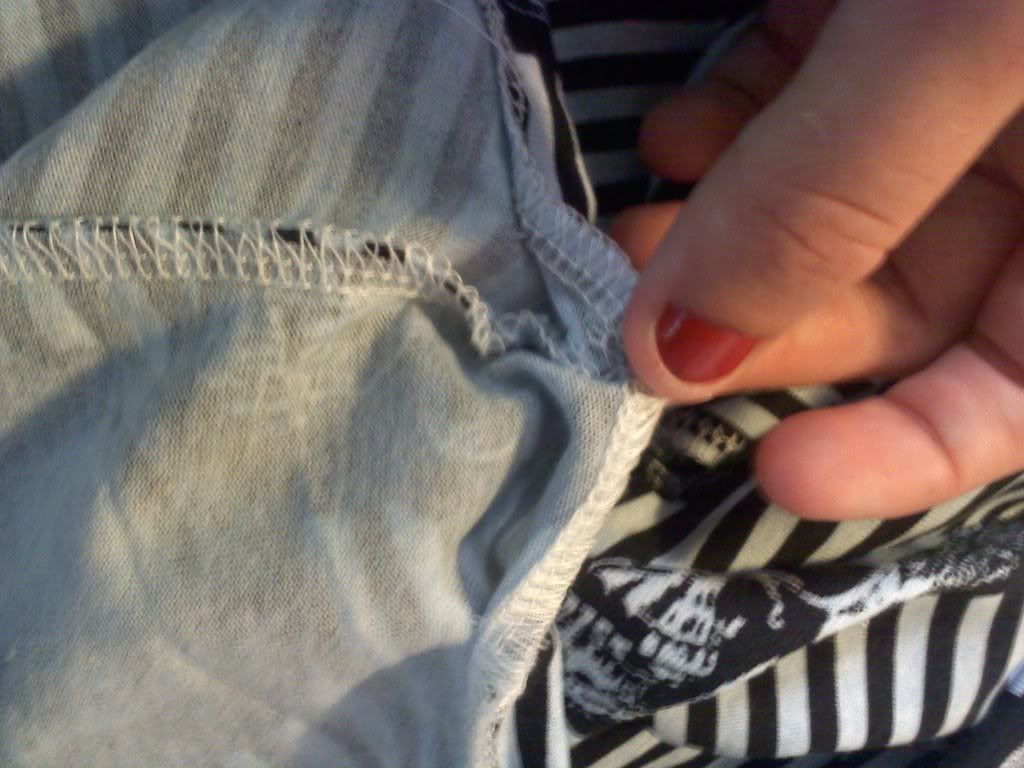
- Once you pull the end out from the other side of the hole,
sew the two ends of the elastic together


- Give the shorts a few tugs to get the elastic through the hole
- Now sew the hole together


-Ta-da!
You're finished


Hope this helps you make some amazing shorts for you or your little one!

If you have any questions or comments please feel free to leave them

Happy Monday everyone!!


Friday, July 6, 2012

Hey guys

Hey all.
Sorry it's been a few days since my last post, things have been crazy around here lately.
There should be a new post up here later today or tomorrow...
Depends on how long the kiddos are napping.

Happy Friday all!


Wednesday, June 27, 2012

Sewing With Dee! Part II


So Miss Dee came over yesterday to give sewing a try and I think she liked it.
We started off by learning how to wind the bobbin,
 then moved on to threading the machine properly (which she did excellent at both!),
 then we moved on to doing some straight stitches and following lines.
 By the end of all of the basic "how-to" stuff, she was ready to go!
By the end of the day she had sewen a reversible purse!! I was totally and completely impressed by her.


Learning to thread the machine


Pulling the bobbin thread up through the top


Look at her go!


Doing some basic stitches


Playing around with the different settings, getting a feel for the machine


I think she was enjoying herself


Working on her purse 


Almost finished


Finishing touches


TA-DA
(outside)


TA-DA
(inside)


I did really enjoy myself and I'm hoping that we can do it again soon!

Happy "Hump"-day Everyone!


Tuesday, June 26, 2012

Sewing with Dee! Part I


Today in just a couple of hours I will have a house full of kiddos running around. On top of my two there will be three others (all under the age of 10)! "Am I insane" I keep asking myself, it's quite possible, but I digress...

Today I will be teaching the oldest of the five kids how to sew! I'm super excited about this.
         - A little back story -
For Christmas we gave Dee a bracelet/necklace making kit, which she has absolutly fallen in LOVE with. So we were over at their house the other day for the youngest's first birthday. And since it's summer break for the kids I invited them over. And I made a comment about Dee learning to sew or craft to which she informed me "We will be there at 10!!".

Anyways.... They will be coming over today and I will be teaching her how to sew, which Im very excited about and I think she is too.

If her mom gives the okay I will post pics with her, however if she doesn't I will post photos of the things she makes.


Happy Tuesday Everyone!


Monday, June 25, 2012

Button Up Refashion


Okay, so over the weekend I was pondering what I wanted to do. I came across an old button up of my husbands that he NEVER wears, and I decided I would "fix" it up. So I did.
BTW this tutorial is VERY photo heavy, I personally learn best when I see how to do, I may have gone a little over-board :) sorry!

The items you will need for this project will be:
-Over sized button up shirt
-Scissors
-Sewing machine/Serger (if you have one, if not you can do it with out)
-Pins
-Iron
-A tank top or other shirt to use as a size reference (if you want)
-Pen or other marking tool (fabric pen, pencil, chalk, etc)


Okay, so lets get started!

Cut collar off

Ta-da!

Take the sleeves and hack those off too.

Now we begin with the fun stuff!
Go ahead and if your shirt looks like this (wrinkles and all), iron it.
Haha! Yeah right

Now button the shirt, turn it inside out, and slip it on.
Figure out how much you need to take it in*
*Important note here - make sure you take it in the same amount on both sides
Mark it
(sorry about the weird lighting)

Pin the shirt together. At least on the inside of the marked line*
*Make sure when cutting to give yourself a seam allowance!
Cut down the line.
Leave pins on the inside of the cut.
Now you're going to sew the sides*
*Make sure to sew from the arm holes down

Now time for the arm part.
Figure out where you want the sleeve to be, mark and cut, if its like mine I had the back of the shirt more like a razor back shirt. So the back was different than the front.


For the collar - cut it where you would like it.
Fold over edges and sew.
Do this for the collar, arm holes, and bottom of shirt.
I dont know why I dont have a pic of the bottom but, cut it off where you would like the length to be.


All done!
Turn right-side out and wear it!